While this page is specific to a specific vehicle and hitch. The 3 major subjects covered, are things your need to Beware of, Plan for, Have preliminary work done by a professional if need be, and Pre-order all necessary parts and hardware before starting.
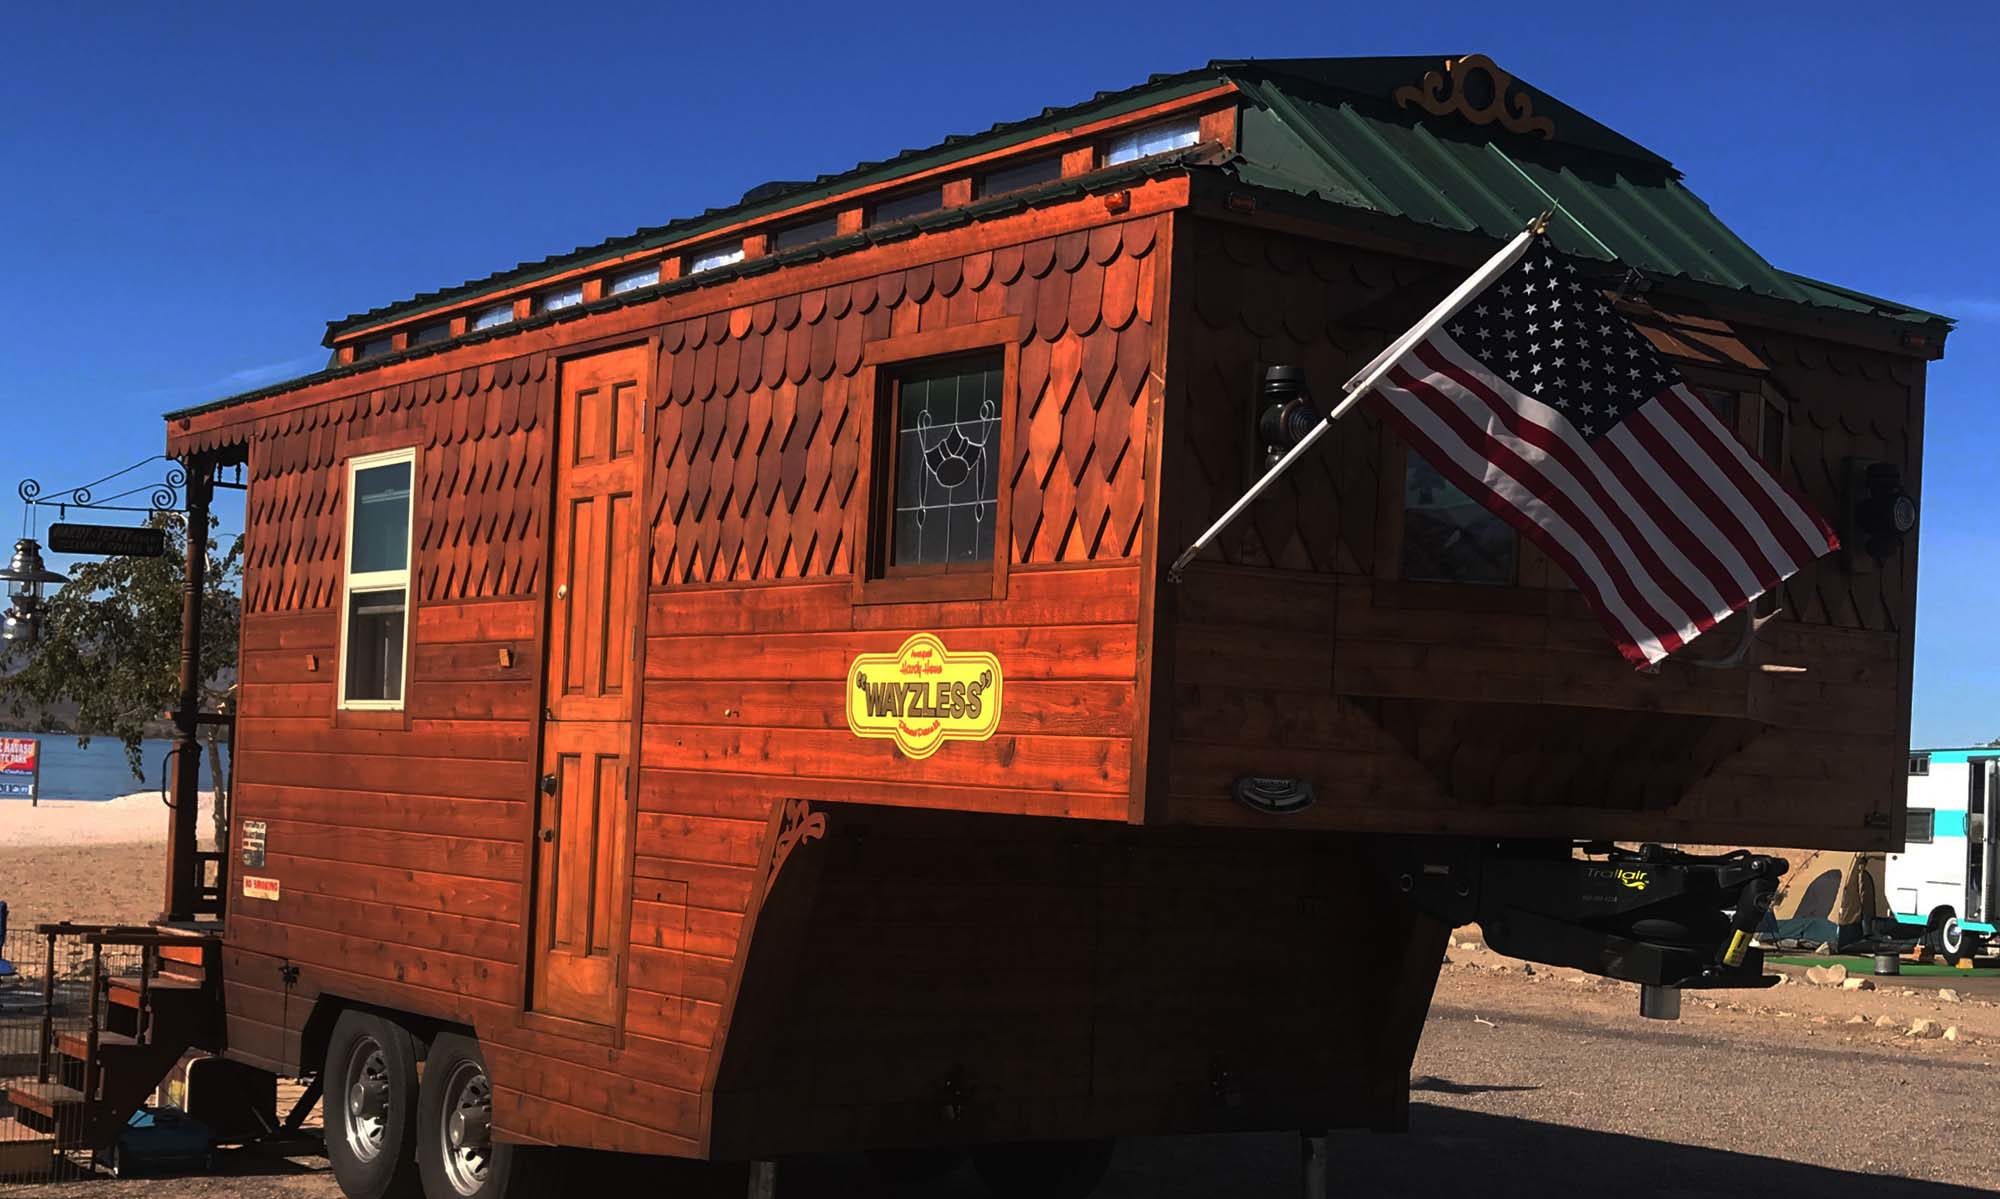
On the 2019 Sprinter 2500 Passenger 144 + a factory step bumper. There seems to be issues installing your own hitch. At least with a Curt brand, and the part number (#13358) Curt Customer Service gave us to purchase.
This page will cover the following
The Hitch Install
An Exhaust Issue
Mounting the 7 Pin Connector Bracket
Curt does not sell direct, so you then must purchase from an authorized source. We called a local shop and was quoted $399 + Tax for parts and installation of the hitch only. They never mentioned modifications or possible additional charges if encountered. They were going to install Curt too.
Researching we found the #13358 hitch on Amazon for around $175 plus tax. Shipping is free for Prime members.
The Amazon vehicle tool actually says this part number will not work. There are also comments from Amazon buyers it will not work.
It seems this hitch may work on some more recent years proceeding 2019, and on some 2019’s that have some alternate exhaust configurations. Just be aware this is not a “bolt up and your are good to go” type of installation. Not for my type of configuration
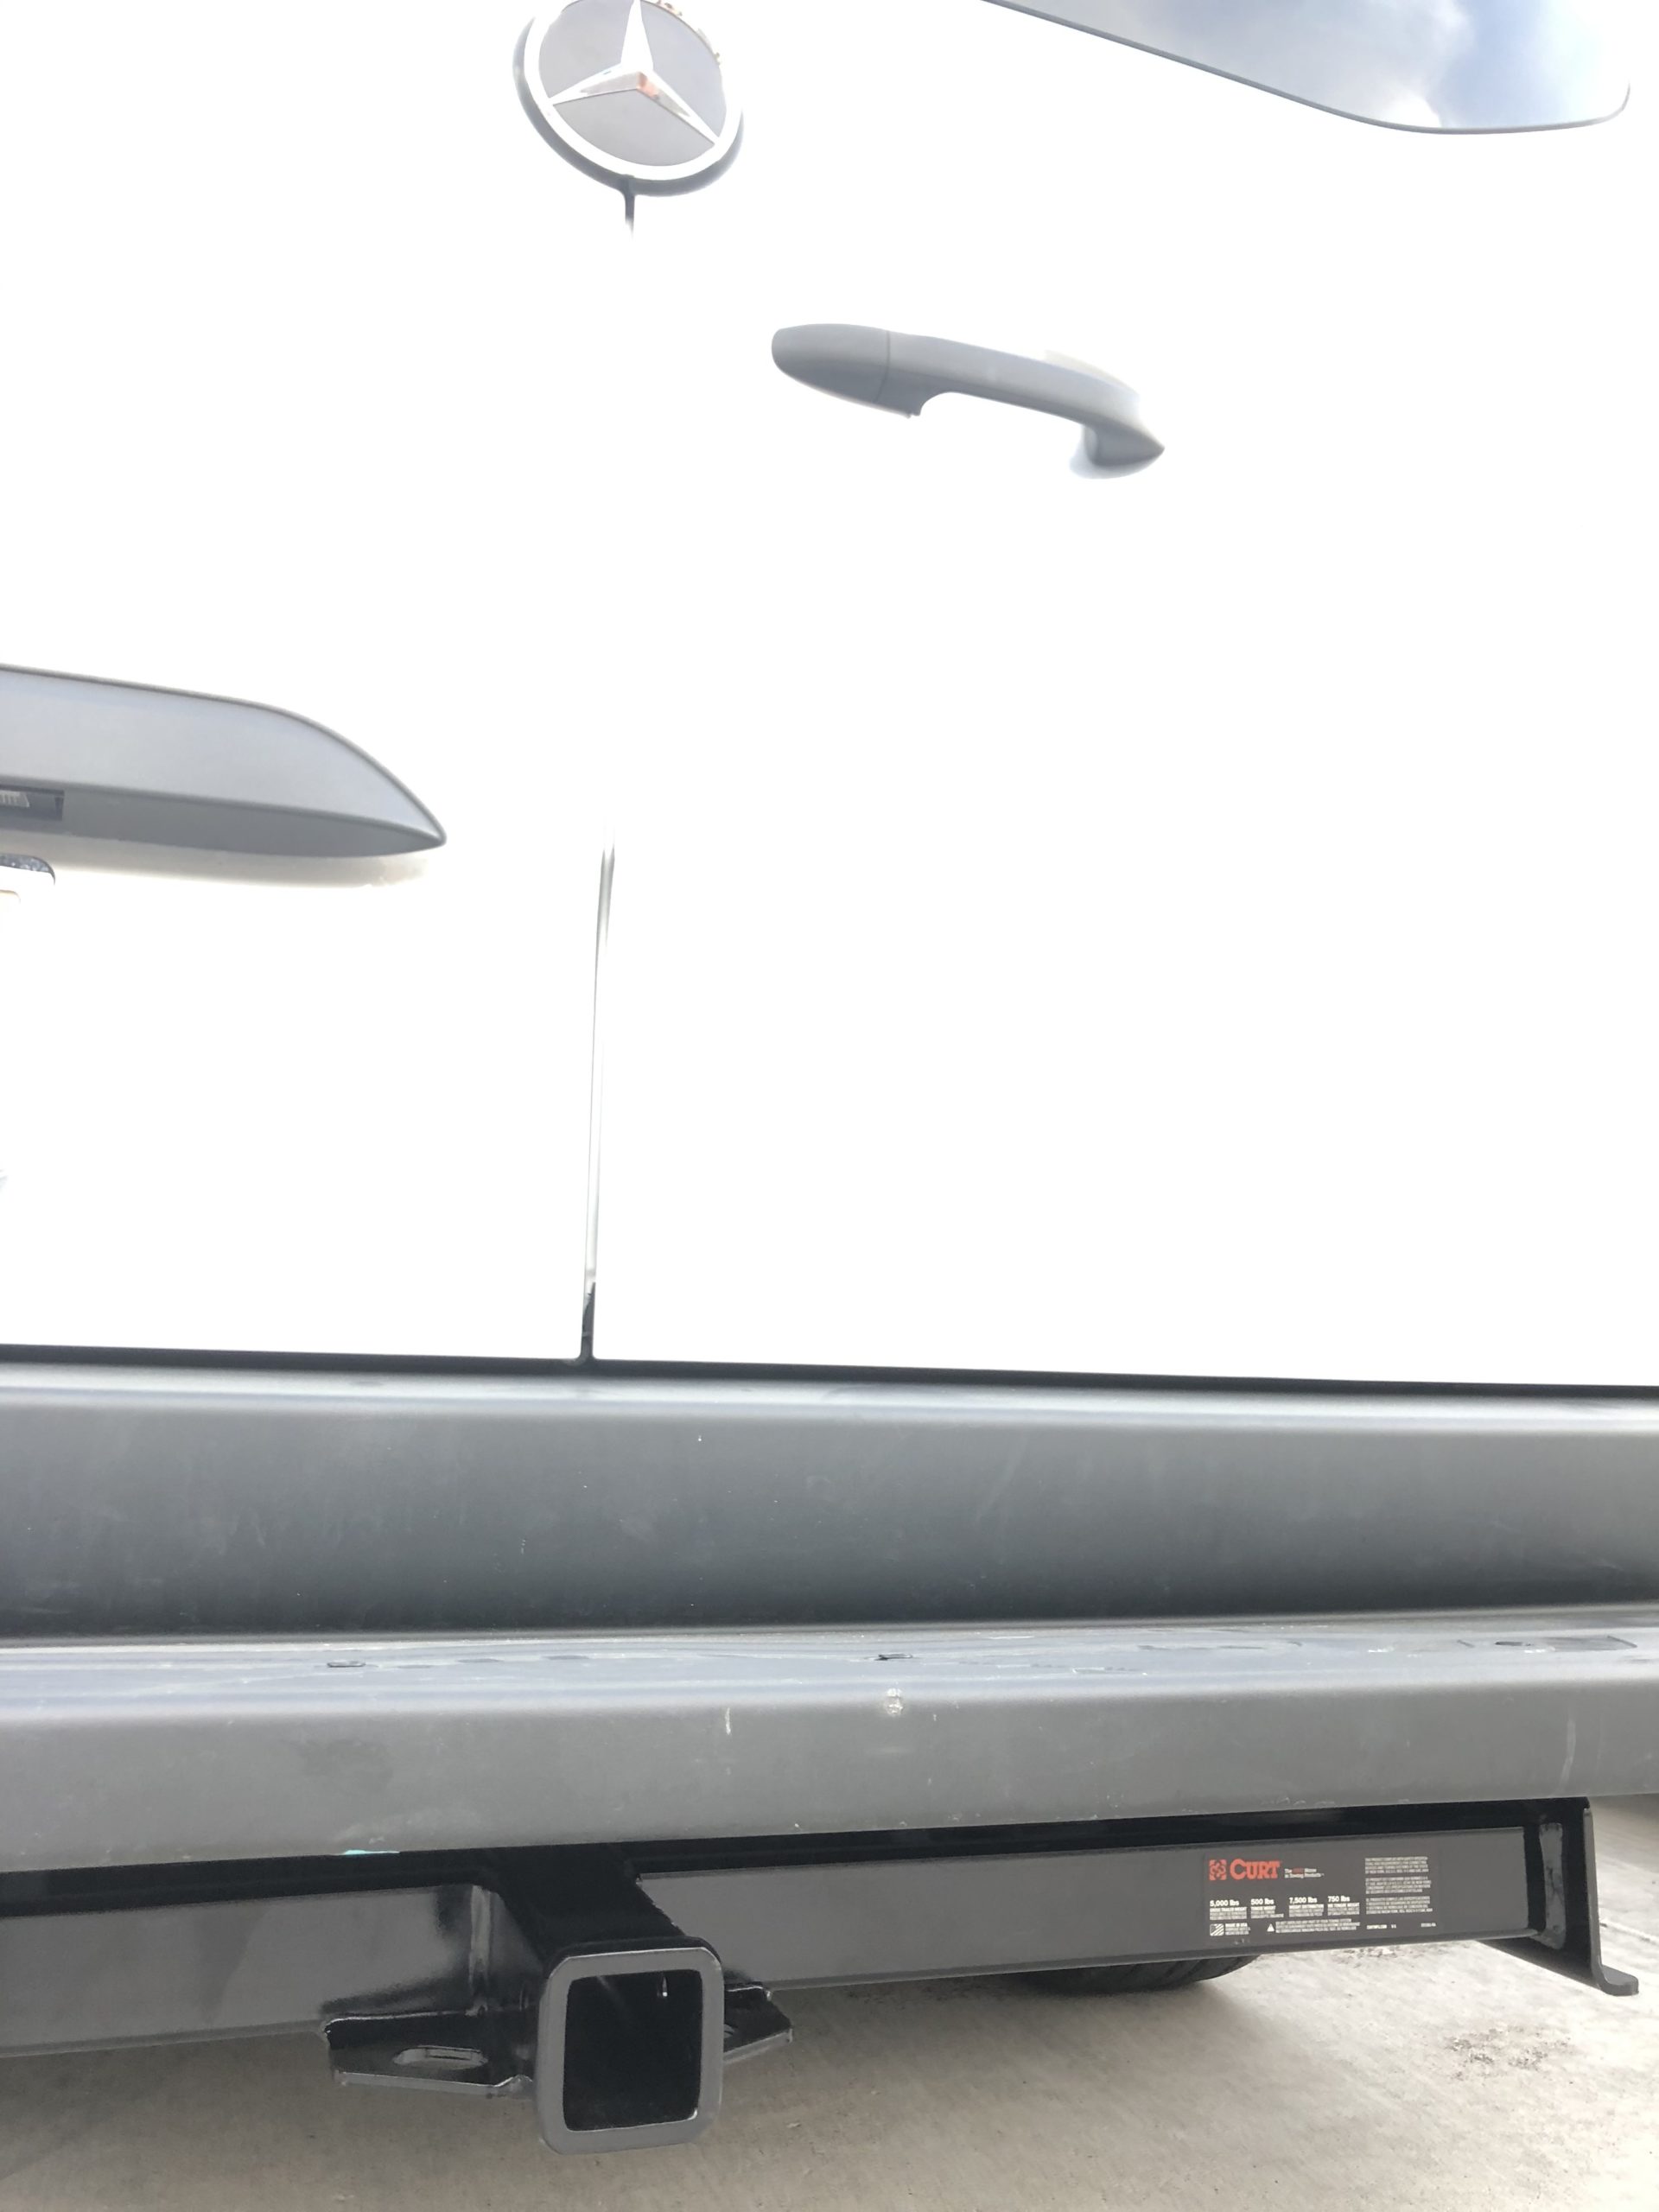
This #13358 does have an extended 2×2 tube for the extended bumper.
There isn’t an alternate option I could find with another CURT product , unless you want to remove or modify your factory bumper.
I must say, other than the exhaust tailpipe discharge issue. This hitch does fit, holes line up, no drilling is required, the additional hardware included works, and the hitch does bolt up nicely.
Hitch Install
Note: Solve your Exhaust issue, if it exists, before starting installation of the hitch. Otherwise you will most likely have to un-install the hitch and do everything a second time. We did the install first to see exactly what we were going to have to modify, and to what specifications. We see two solutions (See lower info EXHAUST ISSUE)
The hitch
installation is pretty much straight forward if you have the tools. There is an issue that will need addressed having to do with the factory exhaust. We have two suggested possible solutions listed below.
First the hitch install, when the step bumper is involved. There are already 4 factory holes through the frame where the hitch will bolt up. No drilling is required.
Metric sockets and wrenches in the range of 17mm, 18mm, & 19mm will most likely be needed. If you have an air impact wrench this job is fairly easy. A torque gauge is recommended. I completed the task in about 30 minutes, by myself. No jacking was required. I lay on my back with the hitch on my chest to start the install.
First you have to remove the nuts off the 6 bolts that hold the existing step bumper on (3 each side). Spin the nuts off and carefully slide the bolts so they still hold the bumper bracket but are flush inside the frame hole where the hitch bracket will go. Then slide the hitch into position until the proper hole lines up. Then slide one of the bolts through to hold it up. Repeat on the other side, and with all 6 existing bumper bracket bolts.
Yes, with two people this would be a snap. By yourself it is doable. Just a bit of a struggle due to the wight of the bumper.
Once you have the 6 existing bolts holding up the step bumper as well as the hitch. Use the two extra bolts that come with the hitch. Slide those through, using the heavy rectangular washer that comes with the hitch. Spin the hitch supplied nuts on too.
Note: In my case the two bolts and nuts that came with the hitch are one size up from the existing vehicle bolts. No big deal. But it makes you have multiple sizes of tools, then the need to switch between wrench/socket sizes when tightening things up. Just those little detail things that bug me.
Once you have everything loosely put together, tighten up all bolts/nuts to torque specs provided in the hitch directions.
After some initial use, re-check and tighten if need be.
EXHAUST TAIL PIPE ISSUE
(Requires a vehicle modification)
We did a temporary DIY fix during Covid. But eventually had a professional muffler shop reroute the tail pipe. For $90. Hardly worth going to a DIY solution that costs money and is inadequate in my opinion. Had the tail pipe been modified ahead of time, the hitch install would have been easier.
We will cover both the DIY, then a small info paragraph to have a professional reroute the exhaust if it is in the way, will vibrate metal on metal and make noise, or any restriction of the discharge may be an end result.
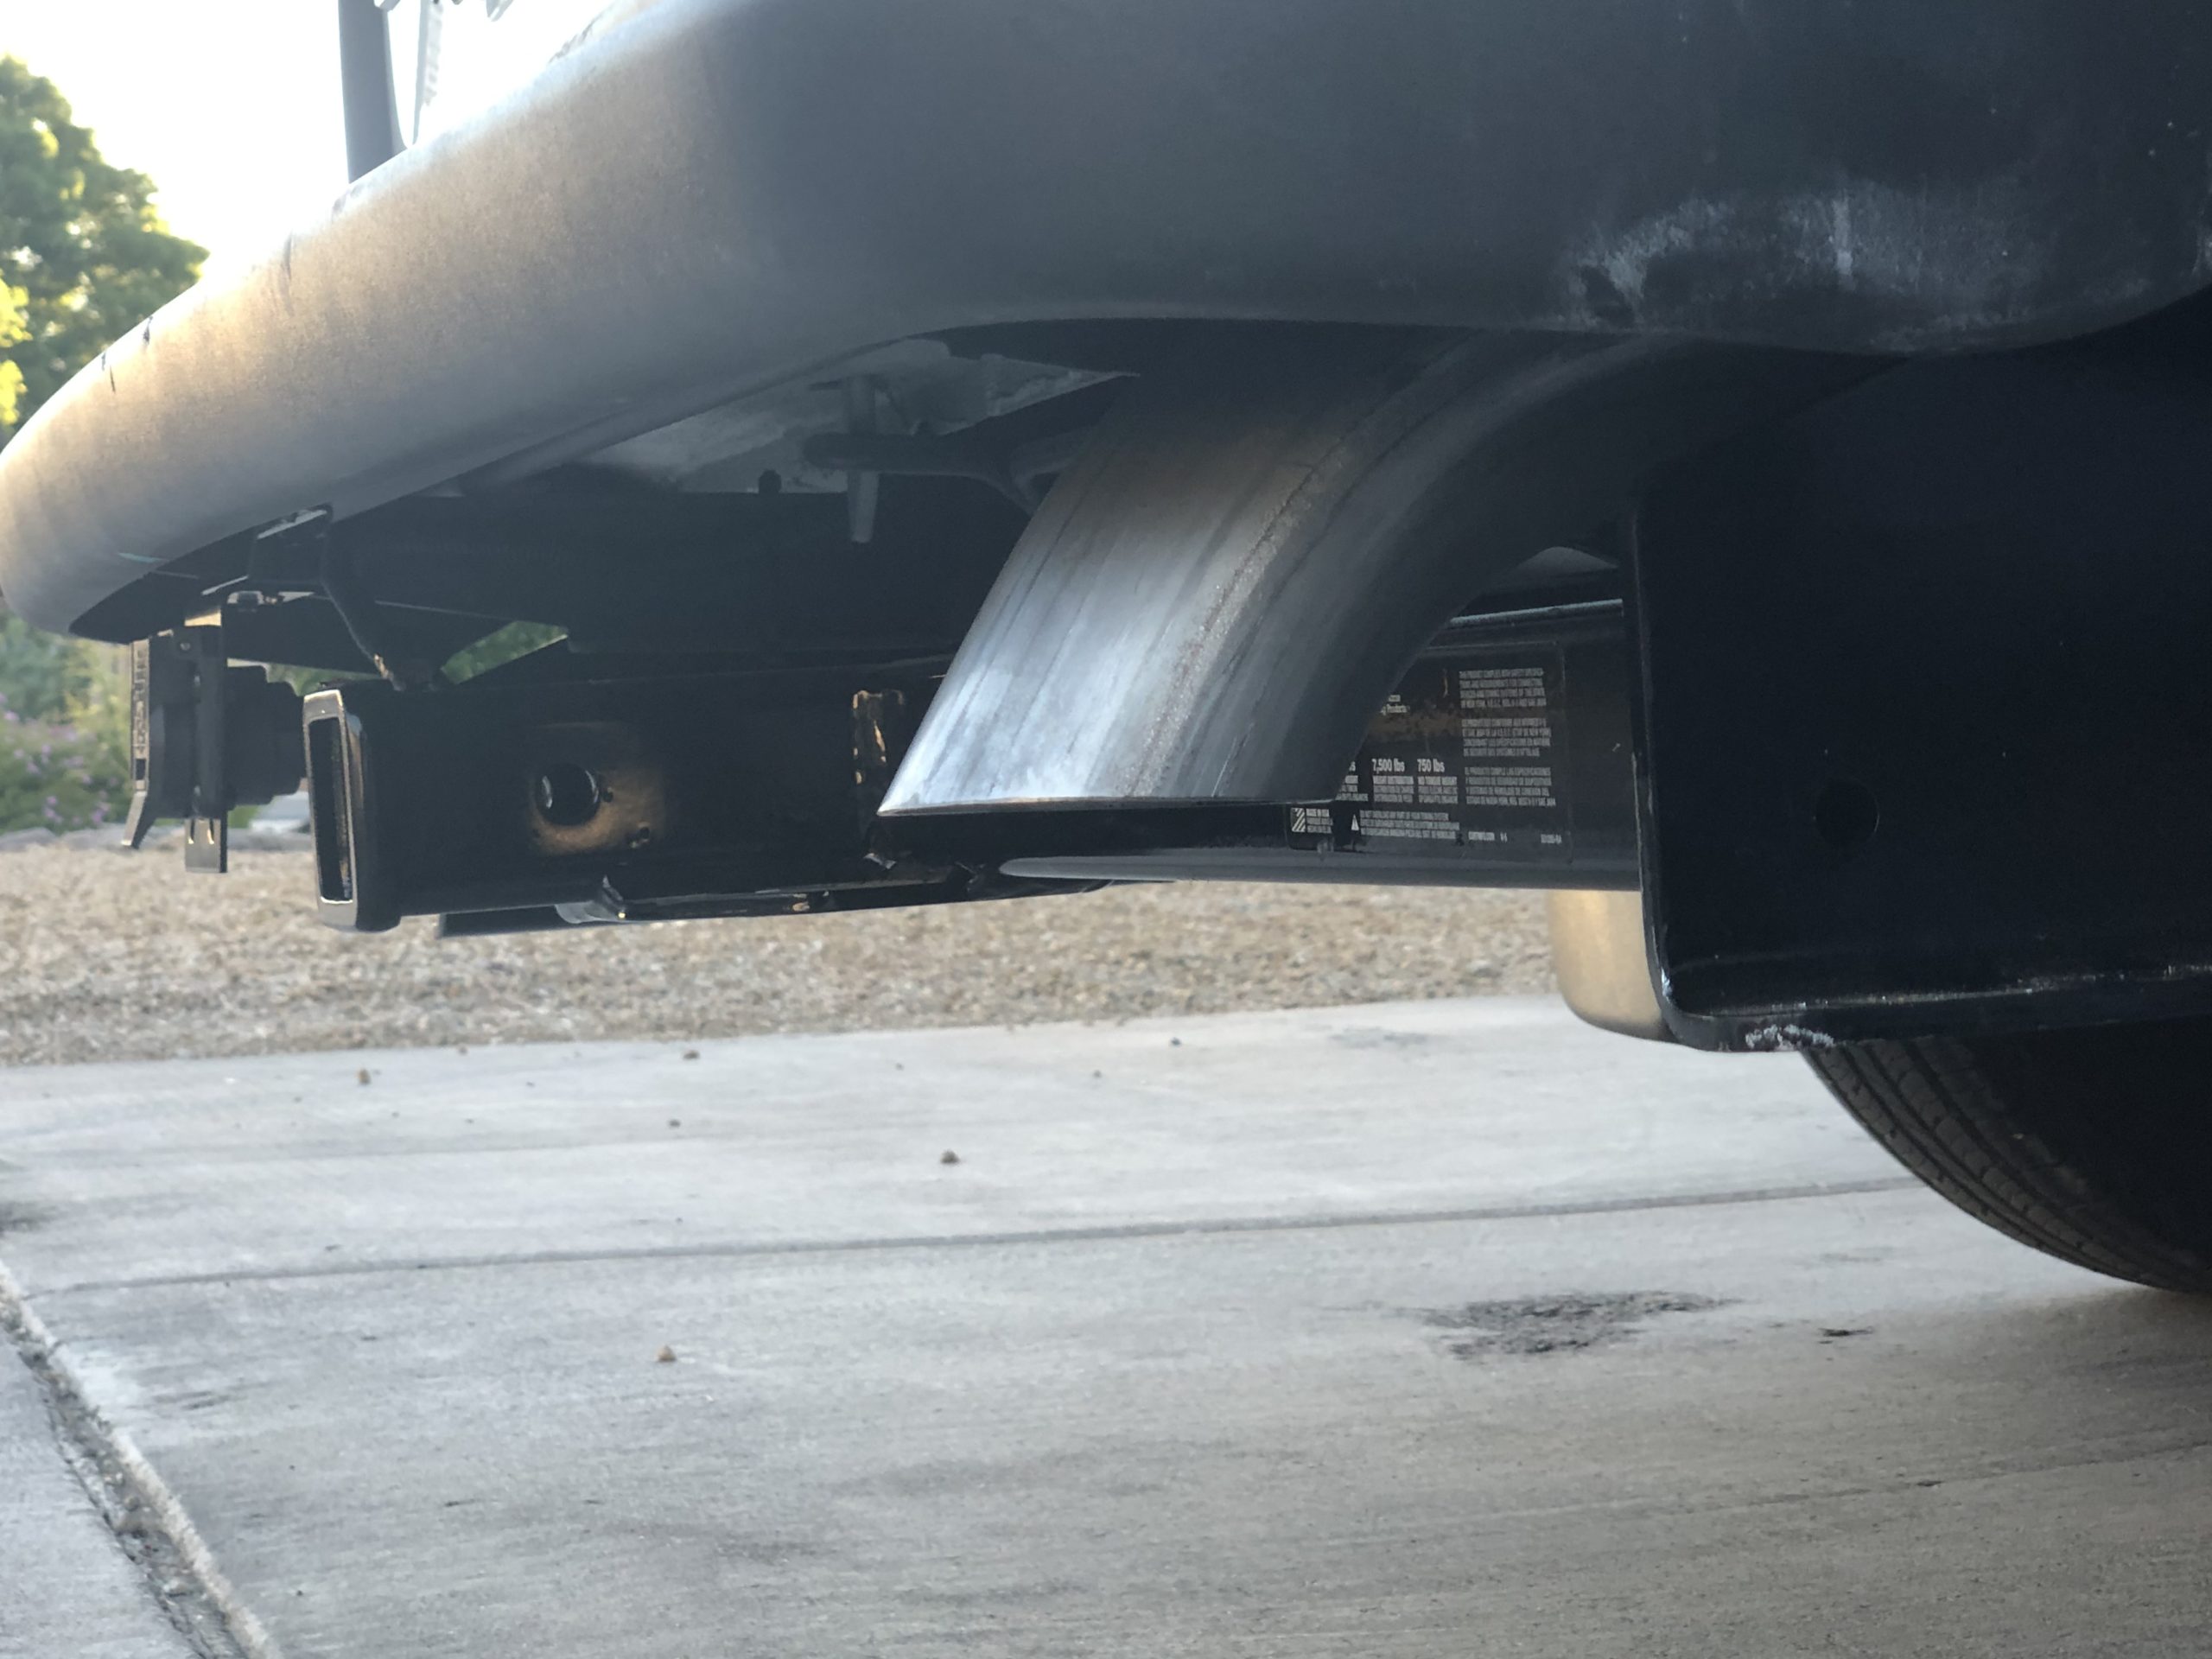
On our van, the exhaust pretty much lines up with the vehicle frame directly above. Once the Hitch is bolted up the exhaust clears the vertical bumper hanger as well as the vertical hitch hanger. But not the hitch draw bar.
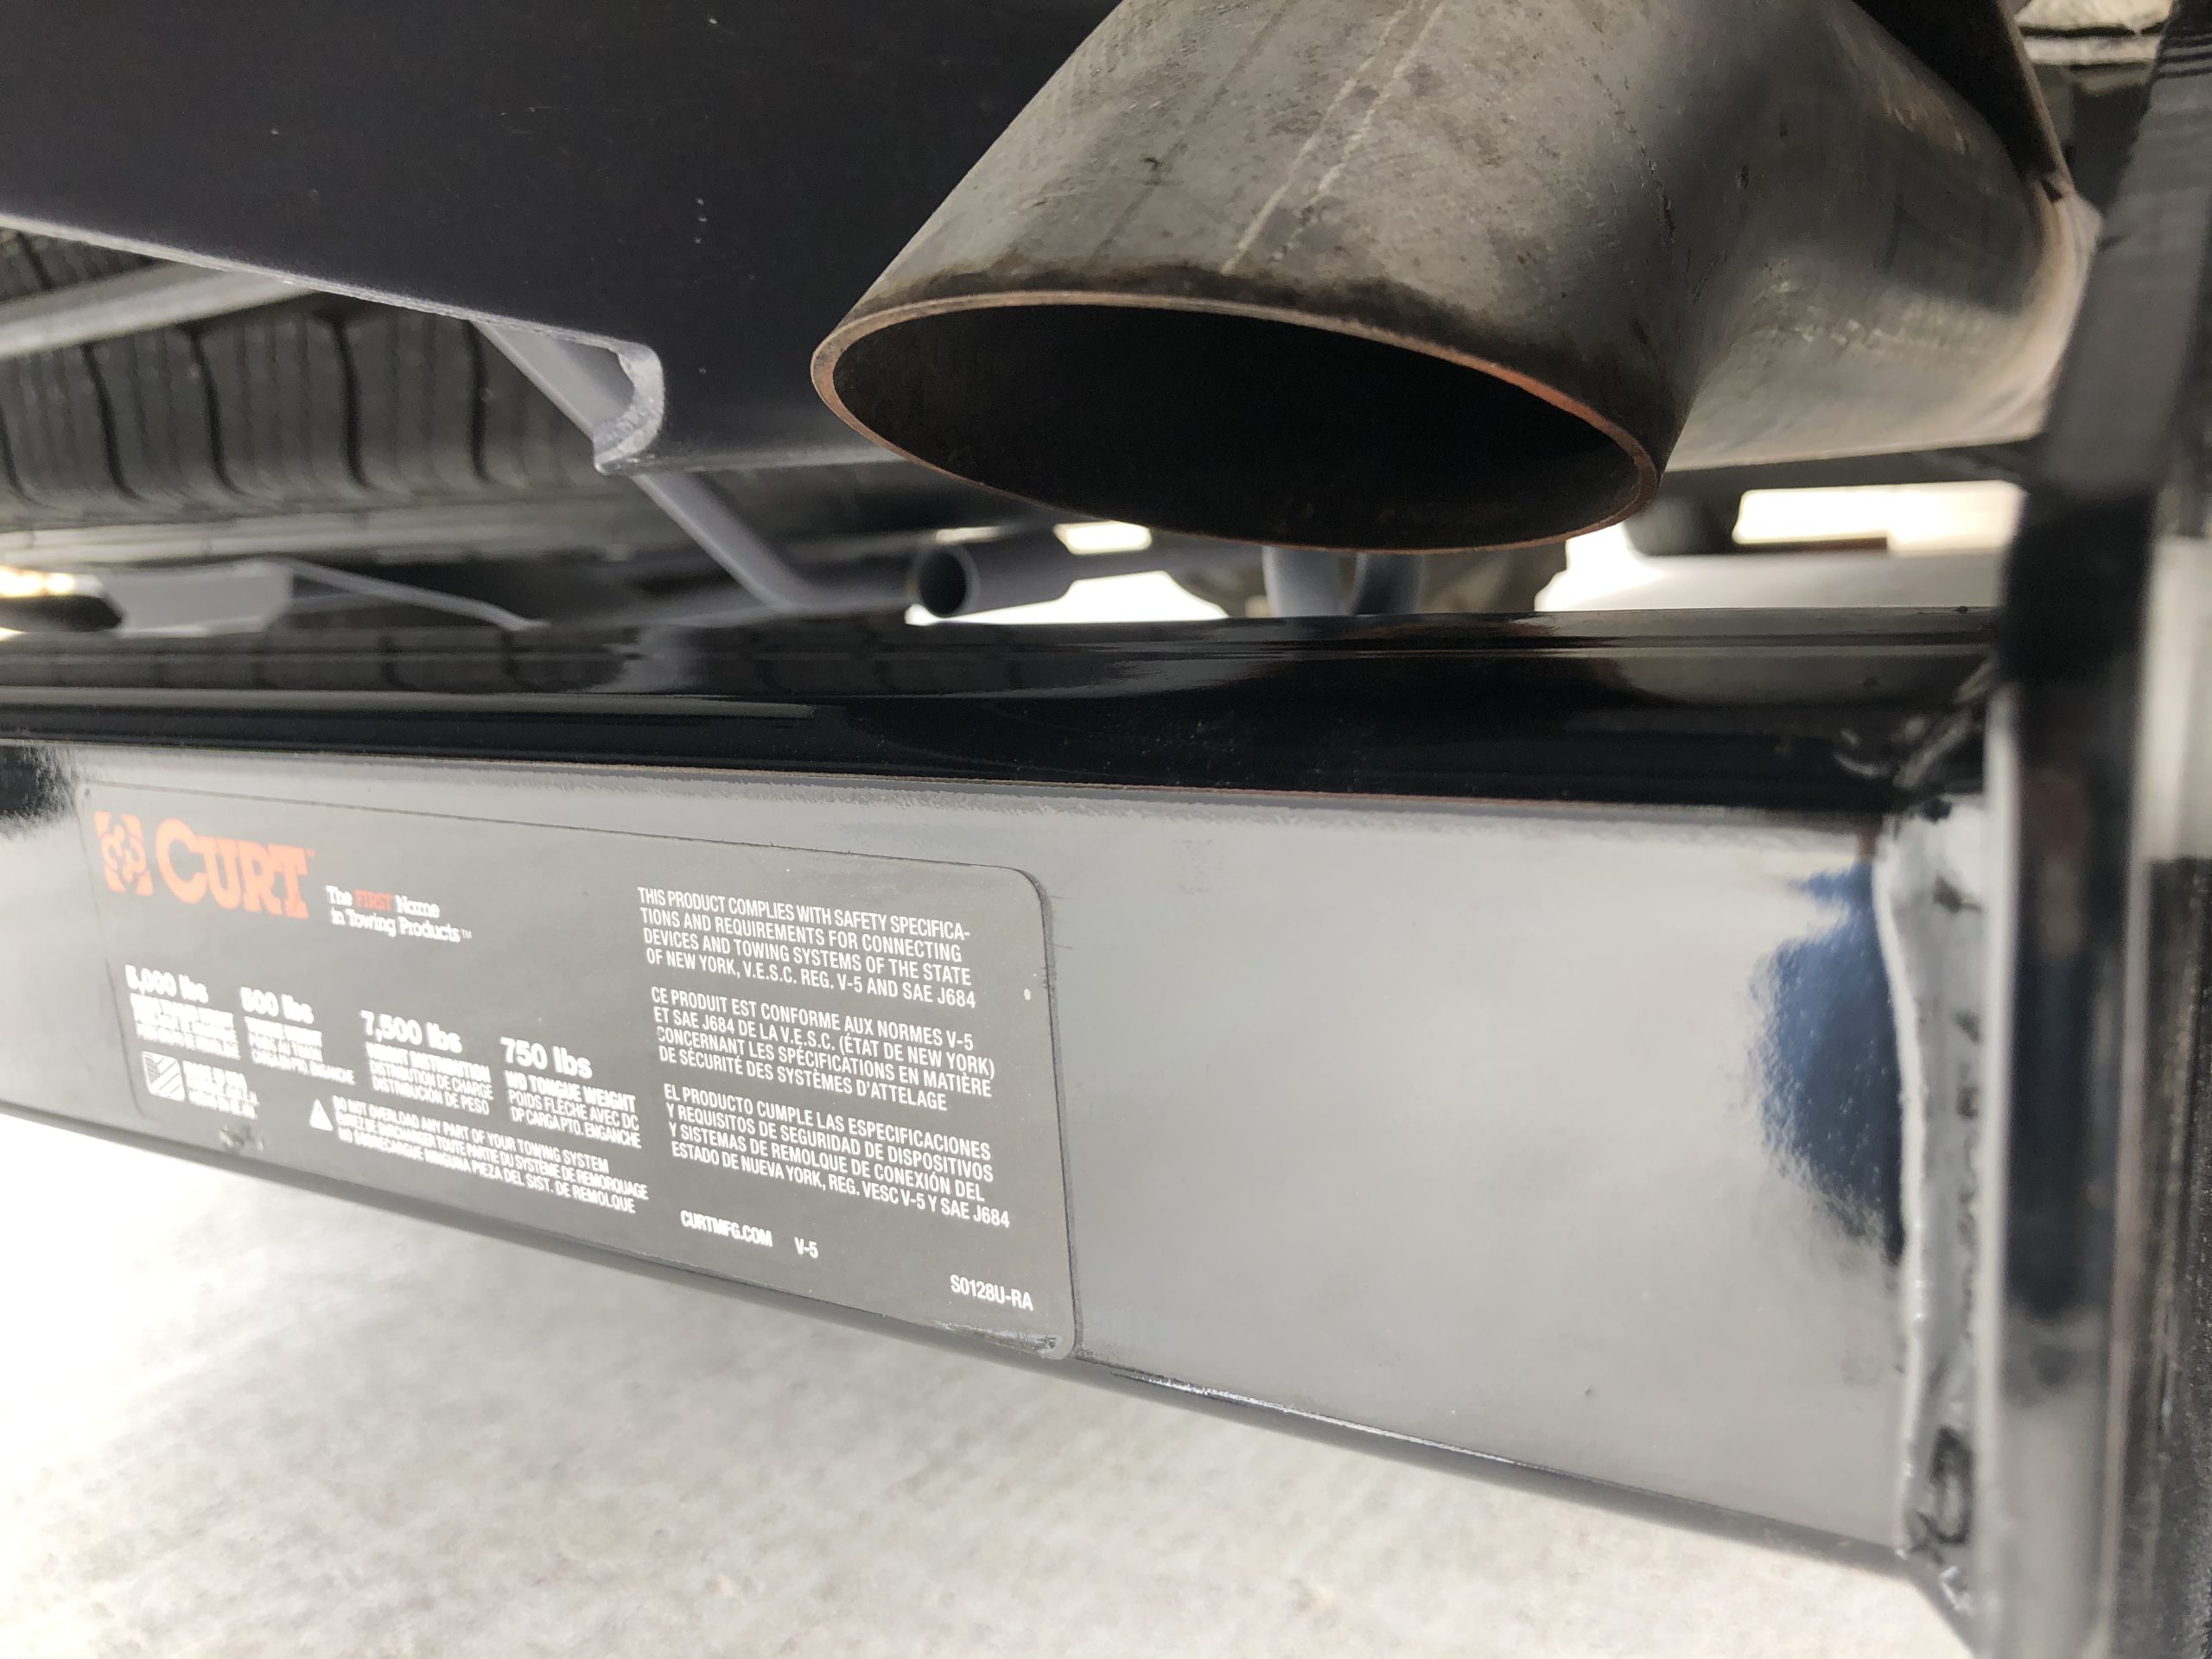
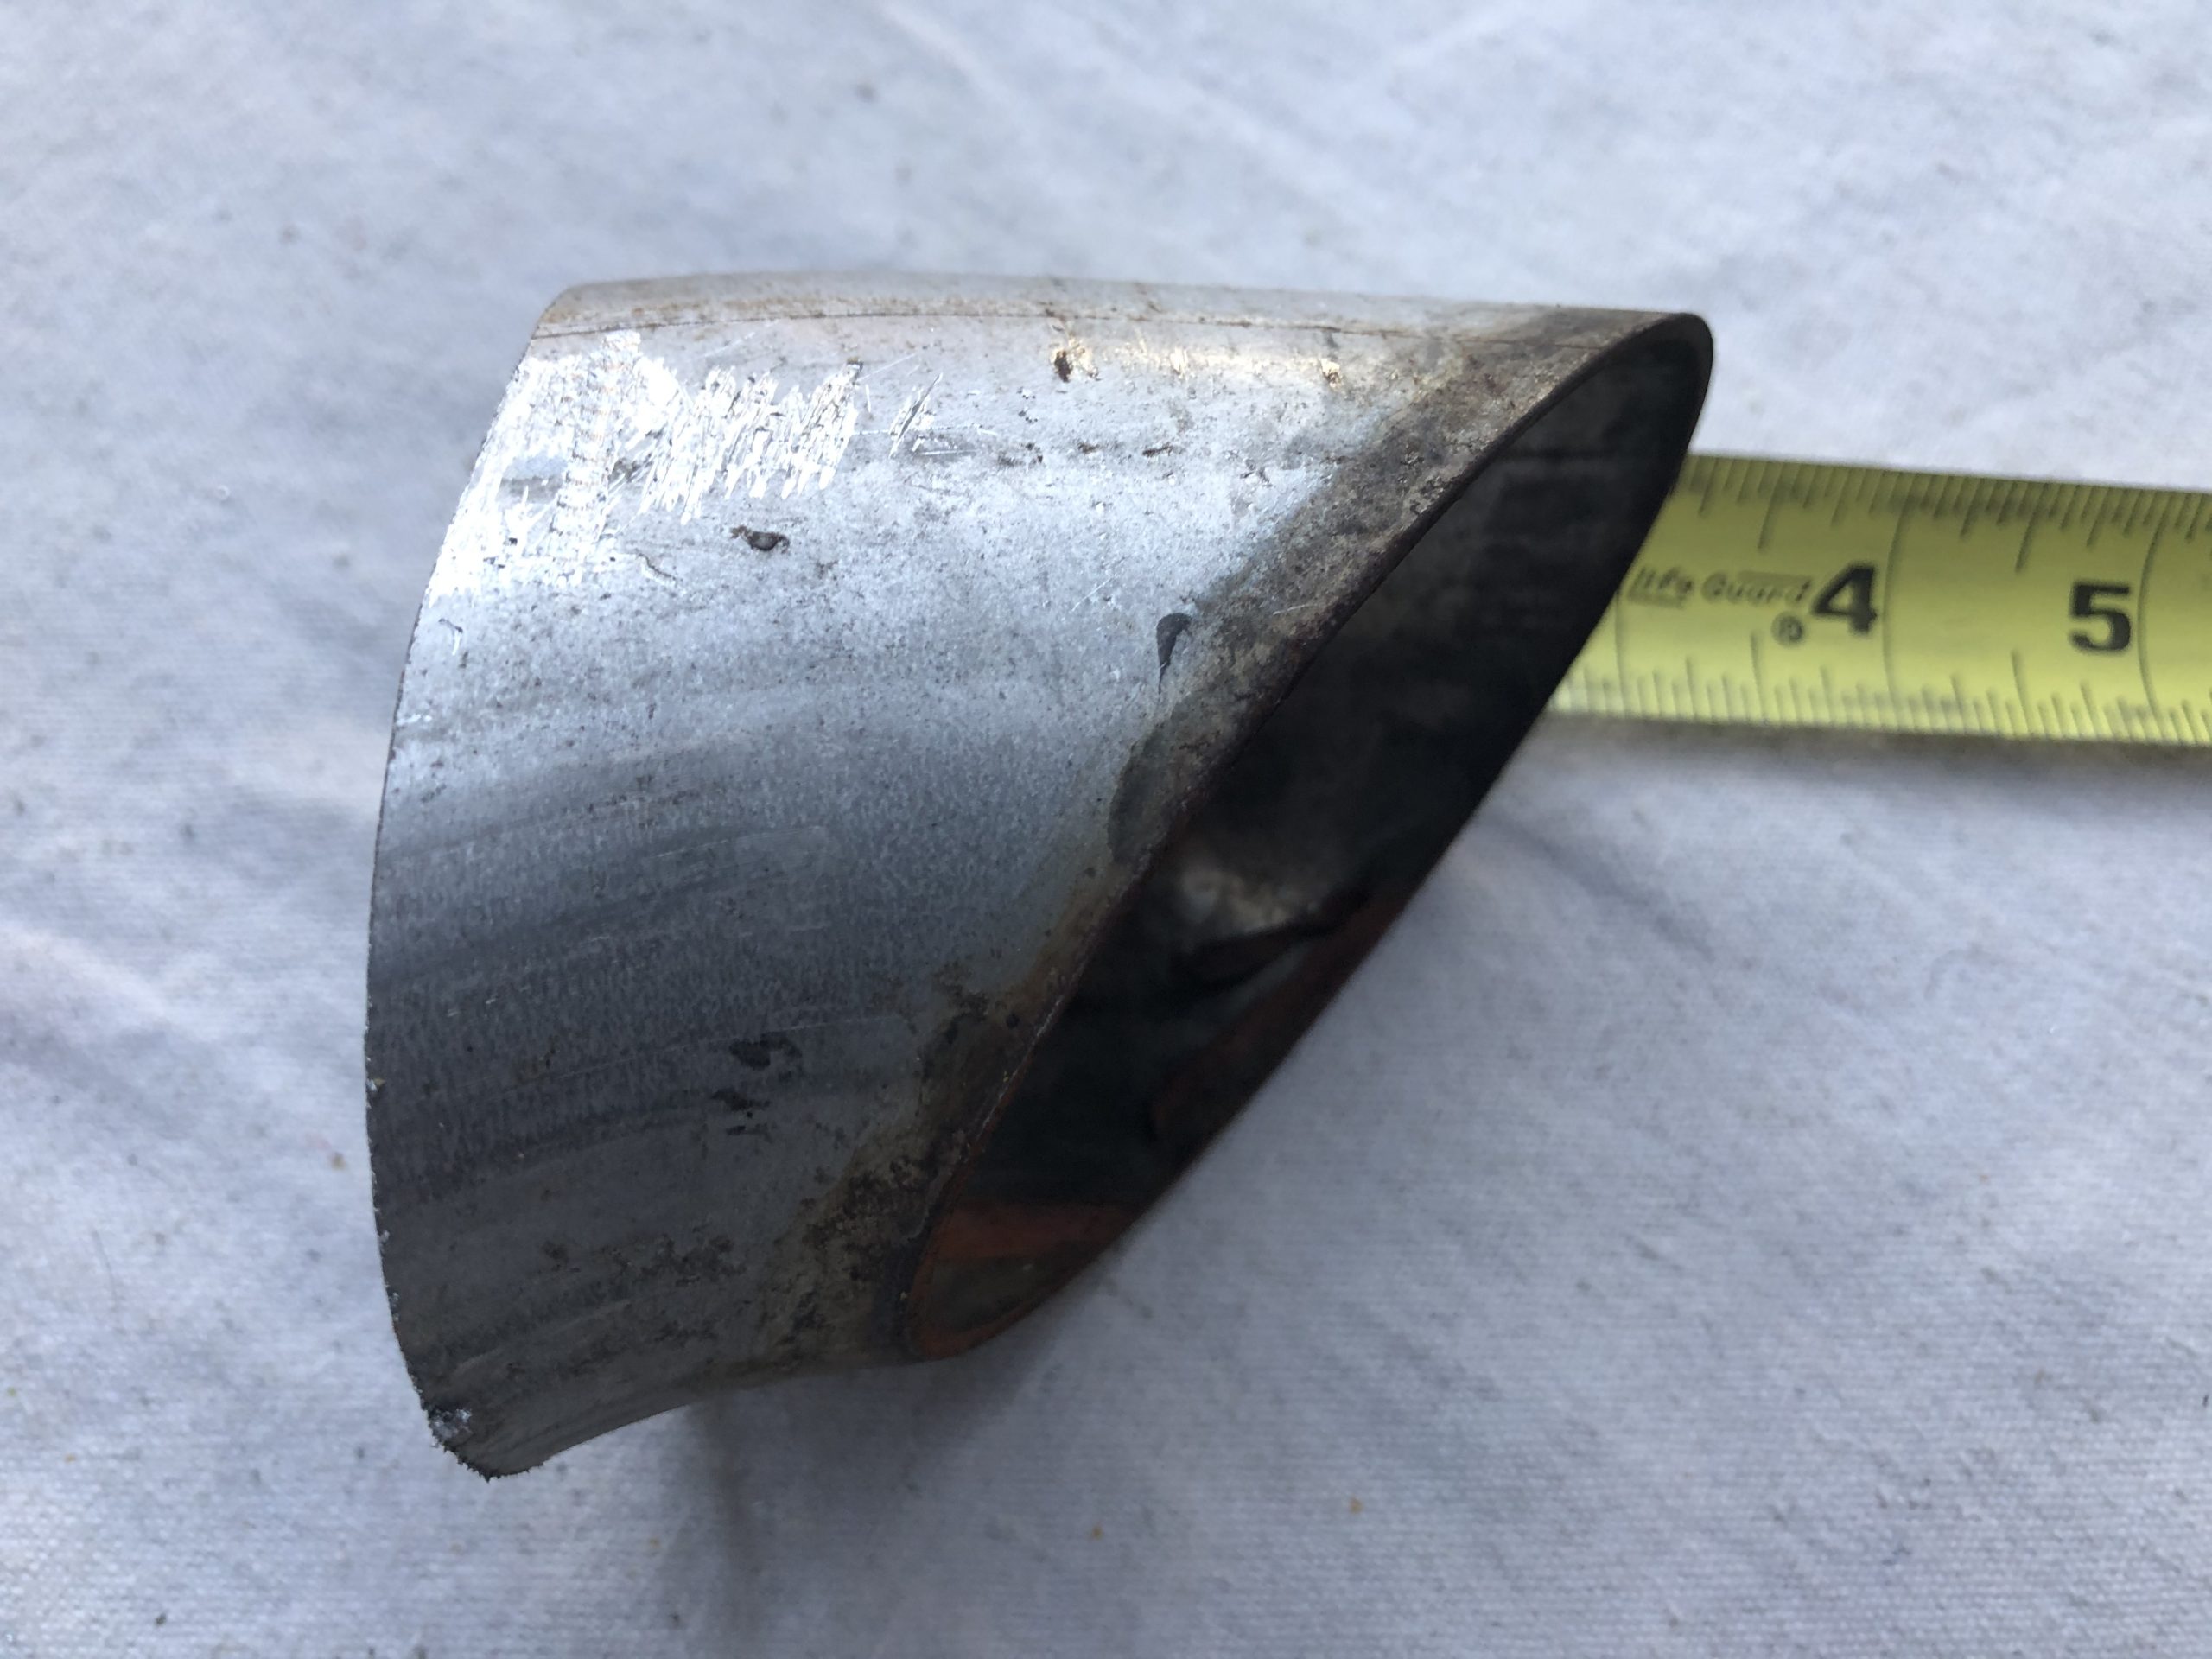
The problem is the discharge end of the factory exhaust tail pipe is angled down at about a 45° angle, then trimmed parallel to the ground. This discharge opening ends up positioned directly on top of the hitch draw bar. There is only a 1/2 inch gap at the closest point. This creates three problems.
First, driving down the road and hitting any normal bump, the exhaust pipe moves up and down in a rubber dampener connector further toward the front, on the pipe. This action causes the pipe to rattle on the draw bar.
More importantly, in our opinion the draw bar obstructs the exhaust enough we are concerned it may cause engine back pressure issues.
Even if we ignored the other two issues. A third issue comes to mind in the form of the exhaust heat. If left as is, hot exhaust would be directed right on top of the draw bar. Would that eventually cause damage to the powder coating?
EXHAUST TAIL PIPE ISSUE Possible Solutions
In our case we did the install on a Saturday. We tried calling Curt but they were closed. So we went through their website and generated an email asking for their recommendation/solution.
(DIY #1 not recommended) We see a cheap fix of simply trimming the 45° angled factory exhaust that is directing the exhaust down, with little clearance with the draw bar. Trimming/cutting off the pipe at 45 ° to the the horizontal of the factory tail pipe. Thus directing the exhaust straight out the back.
But this point is already several inches up under the step bumper. Would this cause carbon monoxide issues in the interior? Would it void any Mecedes-Benz warranties?
(Professional Option) Our second thought is to cut the tail pipe back a little further at 90° to the pipe horizontal. Then go to muffler shop and have a longer tail pipe made, or bent to direct the exhaust out the side. A flared fitting that would slip over the existing cut pipe, then be secured with a muffler type clamp. More expense. Again also the fear of any factory warranty becoming void.
We intend to call a muffler shop that can do custom bend/flare work. Then update what we find, and pricing.
For now our rig is parked and not considered drive-able unless we go out and uninstall the bumper.
We found the muffler shop was closed due to Covid shut downs in our State.
Our actual Solution in Progress
(DIY Solution #2 Not Ideal but used for an interim time) Our attempt to correct the exhaust output position was out of necessity. We did a temporary fix because of all the Covid virus isolation restrictions. With plans to follow-up with a professional muffler shop at some time in the future. (See follow-up 9/28/2020 further down)
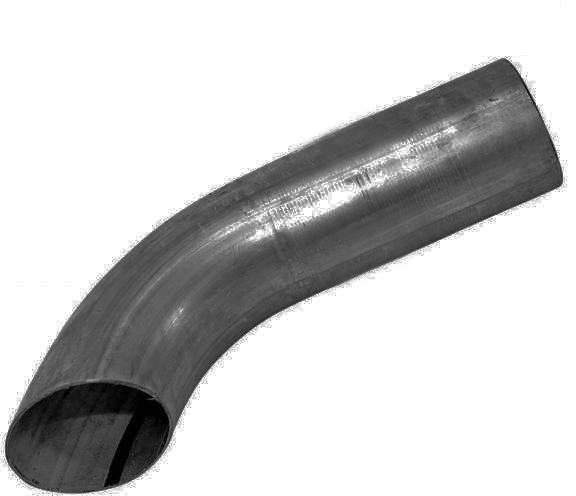
We used a 12 inch turn-down exhaust tail piece & saddle style exhaust clamp. It all seems simple enough in theory.
After calling numerous local muffler shops that should be able to make the part, at a reasonable price, I was surprised each one responded, “their pipe bender is out of service”. I thought it odd after the first two. I don’t know if this is because of the current Covid situation or not?
On to attempting to source it off the internet. This is where the water gets a bit murky. The O.D. (Outside Diameter) of my existing exhaust pipe it 2.75 inches. I found several sources of a possible solution. Amazon being one of them.
So, on the straight end of this part. I needed it to be able to slip over the existing exhaust pipe. In my mind needing a inlet size of either 2.75 inch I.D or perhaps 3 inch O.D. ?
The descriptions were all vague on Amazon as to I.D. or O.D. Some spec information that I often find missing on Amazon. Trying to answer that on their question and answer platform can raise more questions than it solves. I gave up there.
I went to some other places on the internet knowing I was now entering the realm of possible rip-off shipping charges. But I do need a solution.
I found a source that actually had a spec drawing showing the dimension. Drawing arrows terminating on interior surfaces. Indicating 2.75 inches on the inlet of the tail piece. If that was true it would be perfect. This pipe is 12 inches in length.
For whatever reason I happen to call their 800 number rather than place the order on line. Their customer service rep told me the drawing is misleading and that what appeared to be 2.75 I.D. was really 2.75 O.D. That wouldn’t work then.
He suggested I purchase a similar item in 3 inch. He seemed knowledgeable so I went with his suggestion, putting my trust in what he told me….. even though their website images would indicate otherwise.
I am currently waiting on that item to be shipped and received. The tail piece, and a saddle clamp. Once it/they arrive and I have a chance to verify everything, and make the modification. I will make an update. If it works I will provide the source, part number(s), item cost, and shipping.
UPDATE AFTER ALTERED EXHAUST 6/10/2020
The DIY #2 solution for the exhaust does work (did for me). Most of the time. I still had an occasional rattle when hitting bumps, or when idling. There is a way better solution if you are able to get a shop to do it.
I cut minimal off my factory tailpipe and slid the new part over the existing trimmed pipe. Then used the 3 inch saddle clamp/U-Bolt, to secure it.
My concern is the very tight clearance you are dealing with. The additional sized pipe to slip over the existing starts eating up the room you have to play around with. The saddle clamp is really close to everything. To both the step bumper bracket, the hitch vertical bracket, as well as the hitch horizontal bar. . There is less than 1/4 inch to 3 vibrations points. Though once installed and road tested everything seems OK. (after some use there is vibration issues)
I am thinking a shop could also cut the pipe even further back and route it out the side. But now you are in an area where there is a special factory vibration dampening pipe hanger that is welded to the pipe. The factory exhaust has a welded on attachment that inserts through that hanger. Not something I wanted to alter on my own, in the driveway.
You can probably find these parts cheaper if you can find accurate dimensions in their descriptions. It is difficult to know you are truly getting a 3.00 inch O.D. pipe that is roughly 2.75 I.O.
I used CARID (on-line) because I actually spoke to someone that was knowledgeable. I would have ordered the wrong part had I just went off several websites descriptions. Amazon was very unclear and I would have purchased the wrong one.
From CARID I used the following two parts. Both parts and shipping was $39.14.
DieselTech® 24344 – Style A-OD Turndown Clamp-On Aluminized Exhaust Tailpipe Spout (3″ Inlet, 12″ Length) (Note: That 3 inch inlet is O.D. and the diameter size the entire length including the curve. This is NOT just flared/expanded just on the inlet end. The I.D. is approximately 2.74 inches.
Also purchased an AP Exhaust® – Extra Heavy Duty Zinc Plated Exhaust Clamp (3″ ID)

(Professional Solution – The ideal and final solution)
Follow-up 9/28/2020. I finally got this into a muffler shop. They did indeed chop the pipe off further back. Put in a new section of pipe with about a 70° bend to route it out the passenger side, rear of the back wheel. Everything is welded. No U-Bolt pipe clamps.
They welded the old pipe hanger hook (which slips into the hanger rubber damper), back onto the new section of pipe. The tech did it in such a way he was able to utilize the existing hanger attachment/rubber dampener, that is attached to the frame, without relocating it.
Total Cost of Parts and Labor $90.00. This is truly the solutions for this issue. No where near the higher price I was anticipating.
Installing the 7 pin Connector Socket Bracket – Curt #57206
This Sprinter came with the wiring harness and even the 7 pin connector. It was factory installed, but at the rear of the vehicle it was ty-rapped and tucked up by the frame. The van did not come with a hitch.
Get the part number listed above when purchasing the little metal bracket. It is heavy duty. The metal is about twice the thickness of some other Curt part numbers. Also it is solid all around the center connector opening. Some brackets are cut on the bottom to facilitate sliding wires through if your connector is already wired up.
I found my factory 7 pin connector could actually be unplugged, from the back side, to disconnect it from the wiring harness. There is a plastic locking tab that releases it.
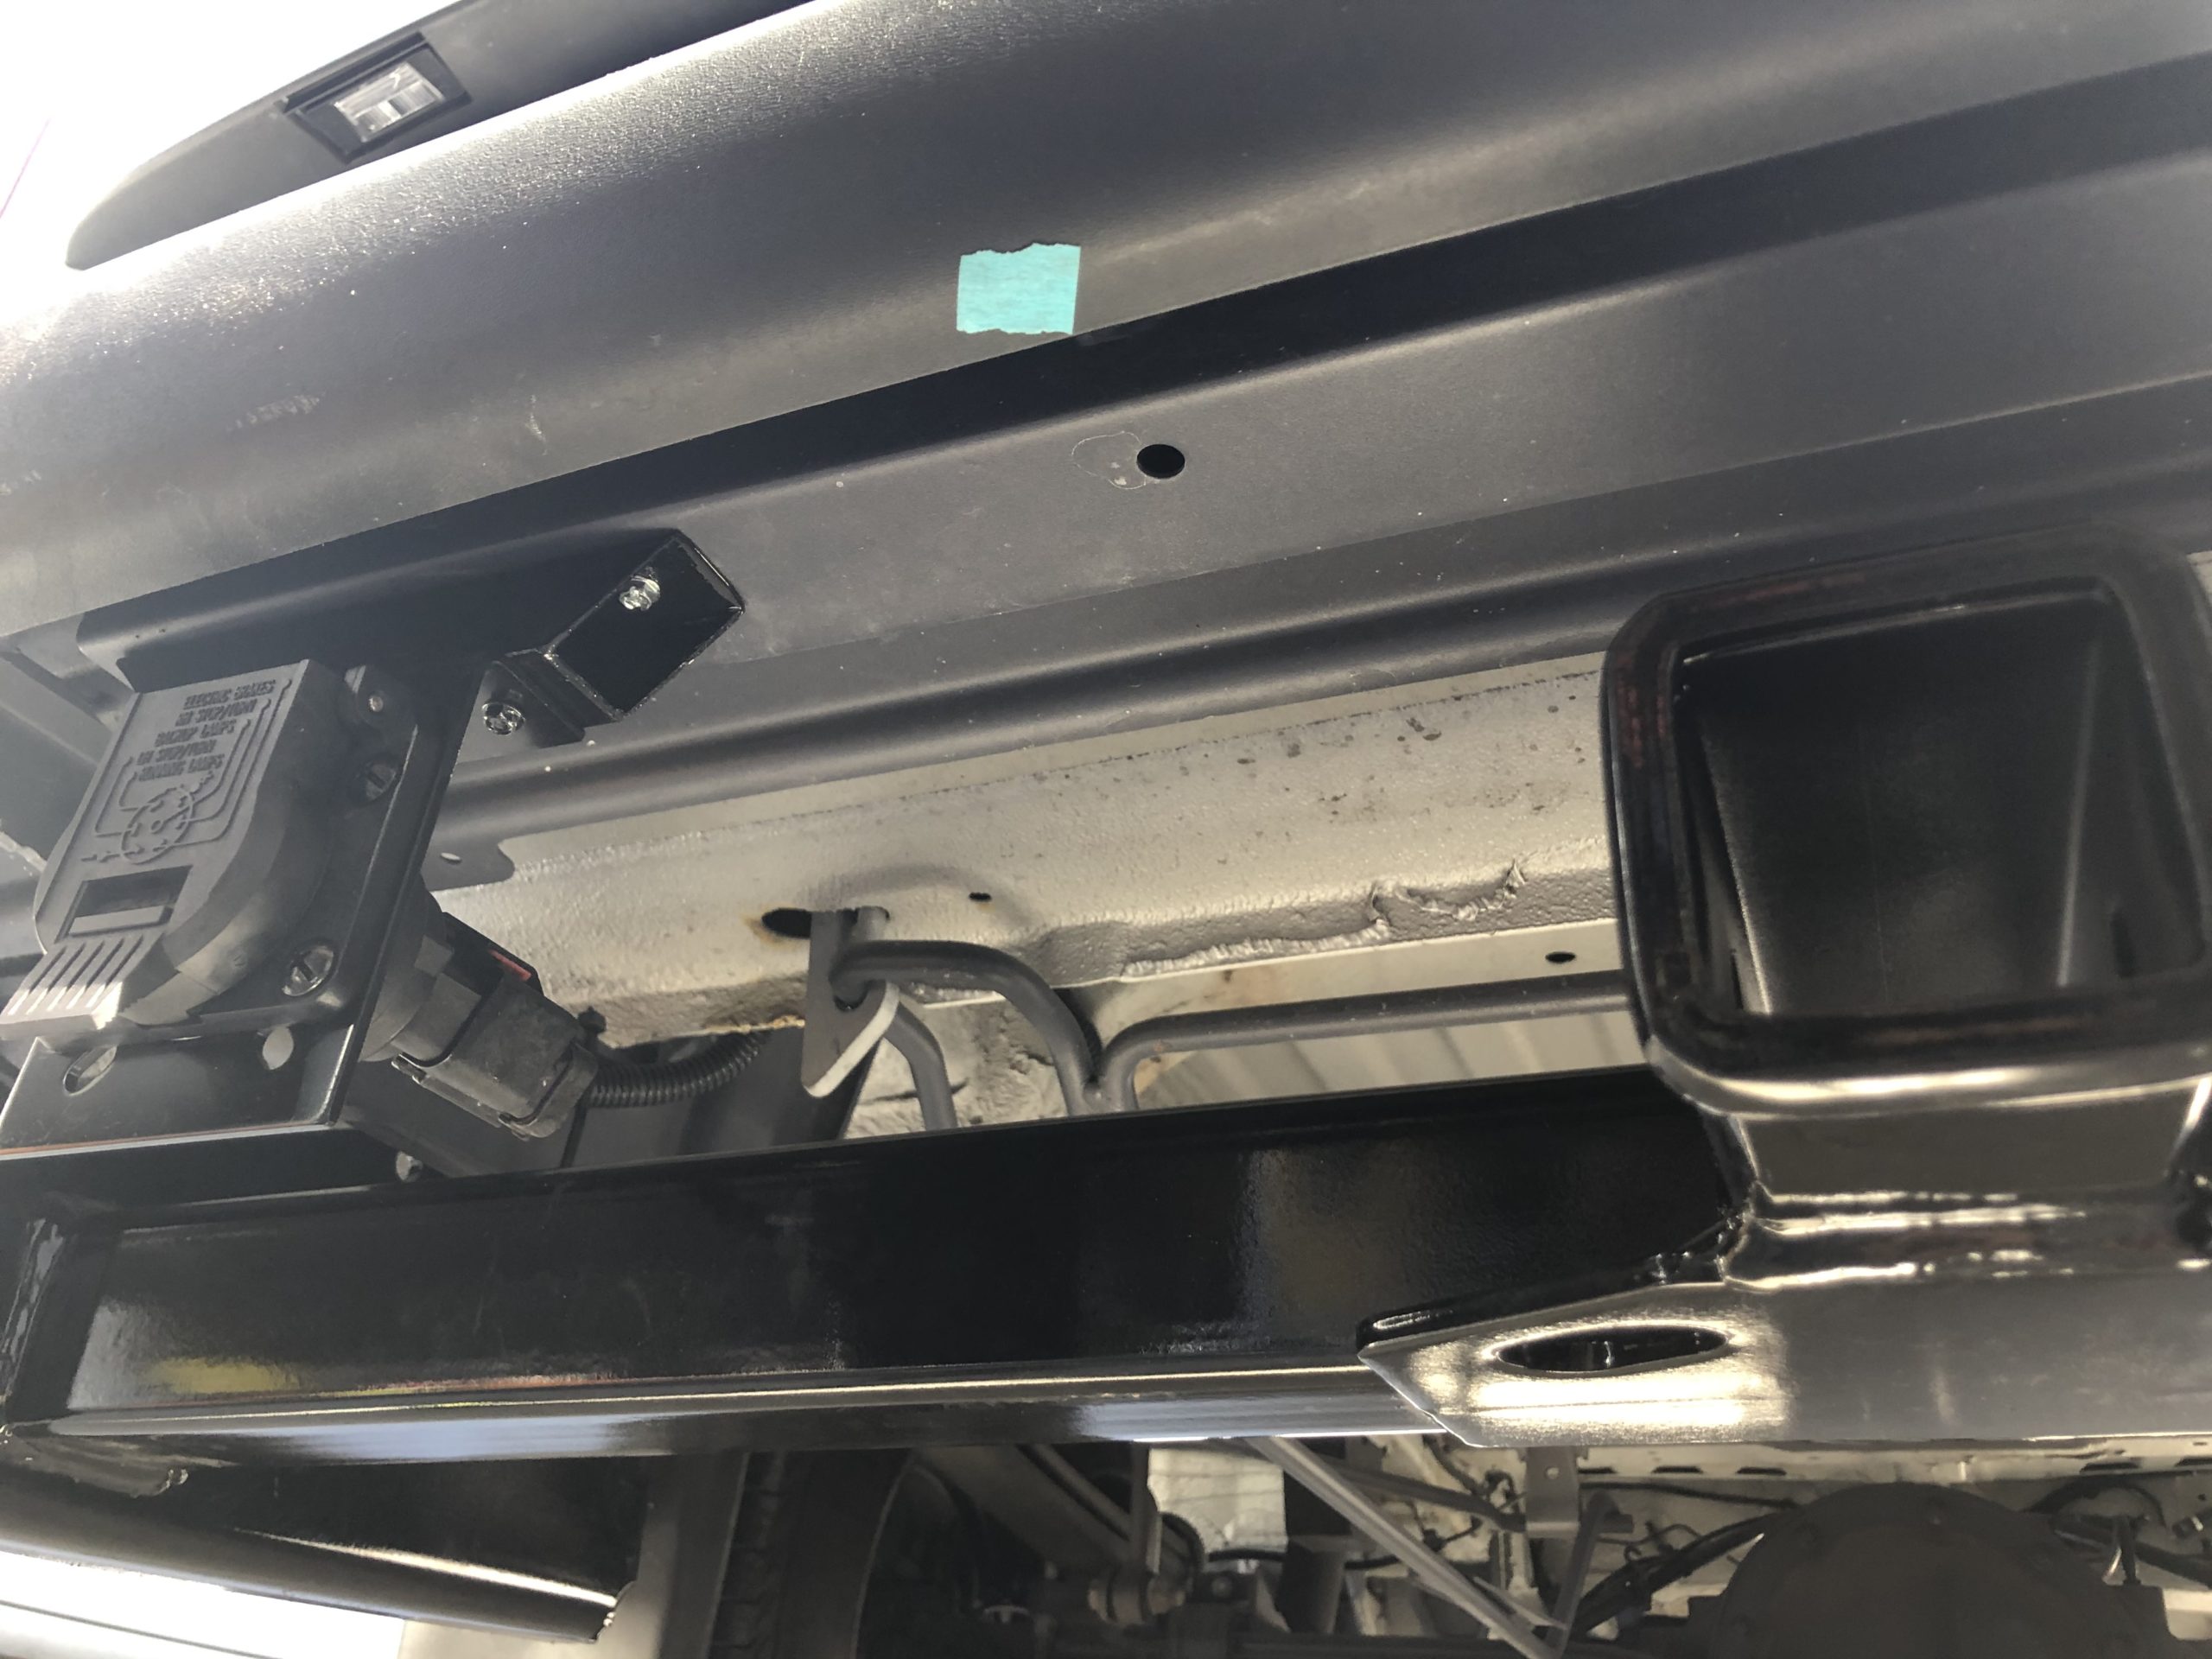
With the factory step bump there is a heave gauge piece of metal that is semi-ideal to attach to. But there is a clearance issue here as well. It is recessed up higher than the bottom edge of the bumper. The Curt Bracket does not hang down far enough for the 7 pin connect cover door to hinge up far enough to be open enough to be usable…..without another modification.
I solved this by using a piece of 1×1 x 1/16 inch square steel tubing. Trimmed both ends at 45° angles, drilled mounting holes that lined up with the underside bumper metal, and attached that homemade part first. Then I drilled it again to attach the Curt bracket. Of course it was given a coat of paint before installing it.
This part lowered the Curt Bracket 1 inch, and once the bracket, and the connector was mounted. Everything looked good, was a solid mount, and the connector door actually could open all the way.
We added plastic wire loom to protect the wiring harness in the area. A few ty-raps were added to dress things up.
![]()