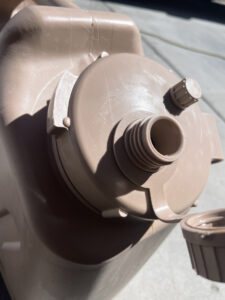
This is a relatively easy hack on Scepter 5 Gallon Water Containers.
This will provide you with a O.D. Male Garden Hose Thread Connector. It will also provide a I.D. Female NPT Connection. This will allow all kinds of DIY connections or accessories.
This was originally adapted so a short piece of garden hose could be attached to the 5 gallon Scepter Container. To aid in transferring water into the gravity water fill on an RV/Camping Trailer, when boondocking.
The internal Female 1/2″ NPT is useful for screwing in a threaded brass valve. The Container can be left on its side on a picnic table the the valve opened like a spigot to wash hands, or fill other containers.

Click this Link for a short video
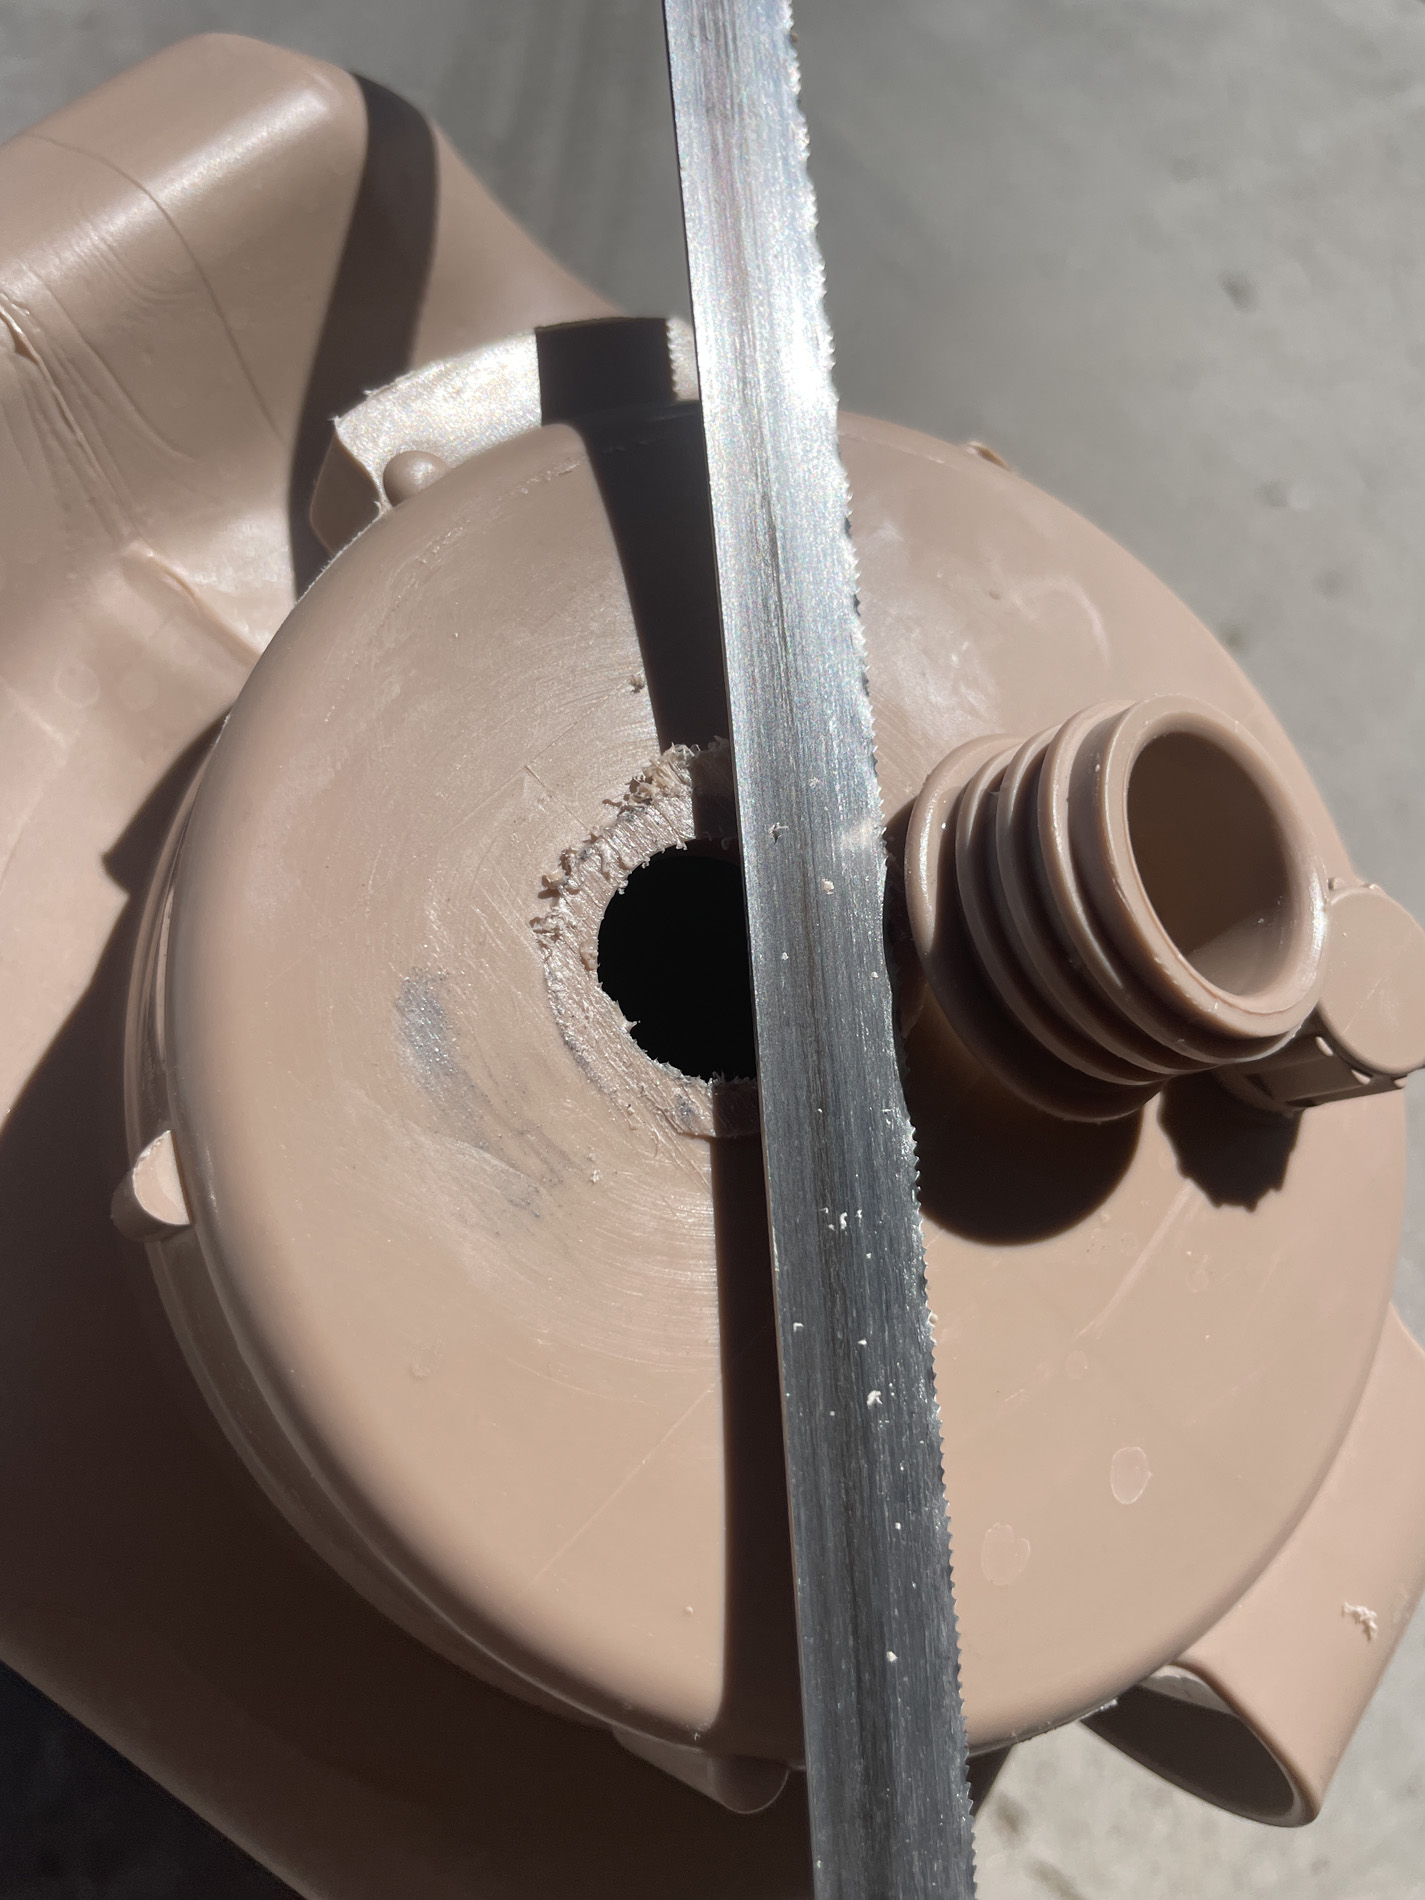
Any ridge does need sanded smooth
3/4″GHT Male x 1/2″Female NPT (Amazon)
(1) 1″ ID x 2-1/4″ OD x 1/8″ Large Neoprene Washer {trim edge for radius of large plastic cap] – Interior (Don’t use the rubber washers that come with the Joywayus bulkhead fitting. They won’t seal properly for this application). (Amazon)
(1) 1 I.D.- Inch Flat Washer, Stainless Steel [Trim edge to radius of large plastic cap] – Interior (Amazon)
(1) Rigid Electrical Reducing Washer 1″ x 3/4″ [Used on the exterior] (Home Depot/Lowe’s)
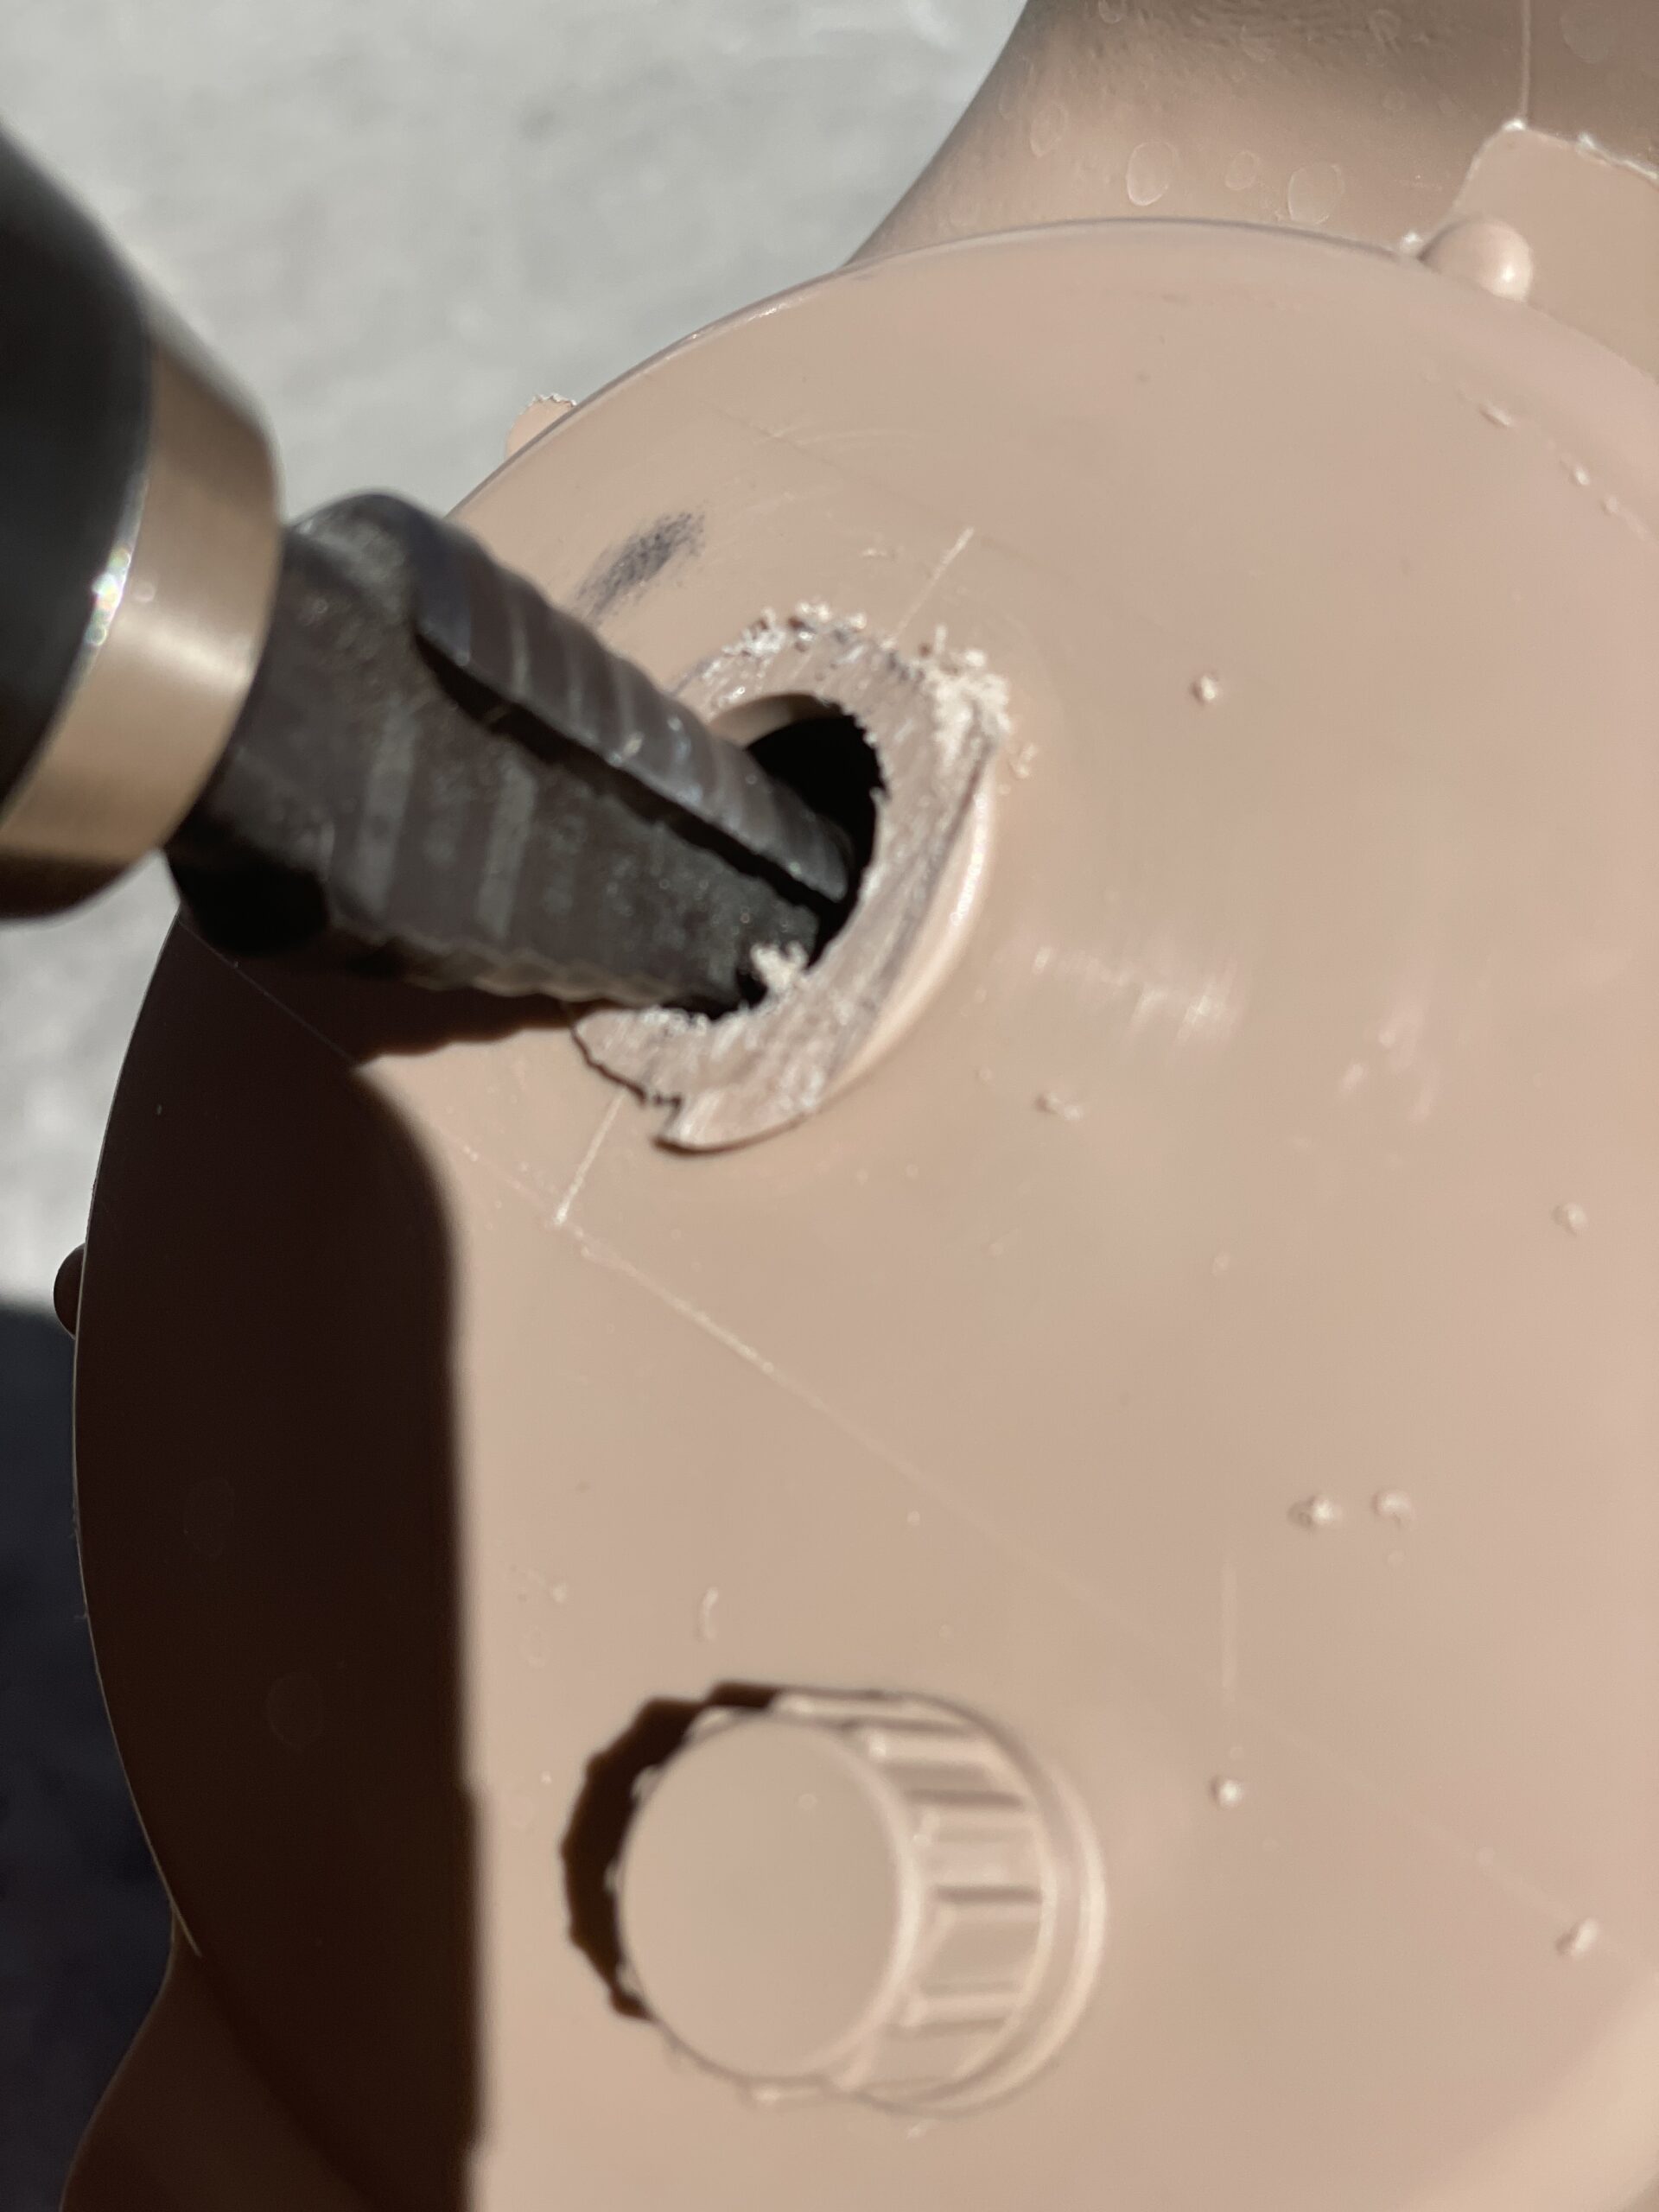
Be sure to level the exterior hole flush via Grinding/Sanding smooth after trimming off the Plastic Spout and reaming the hole.
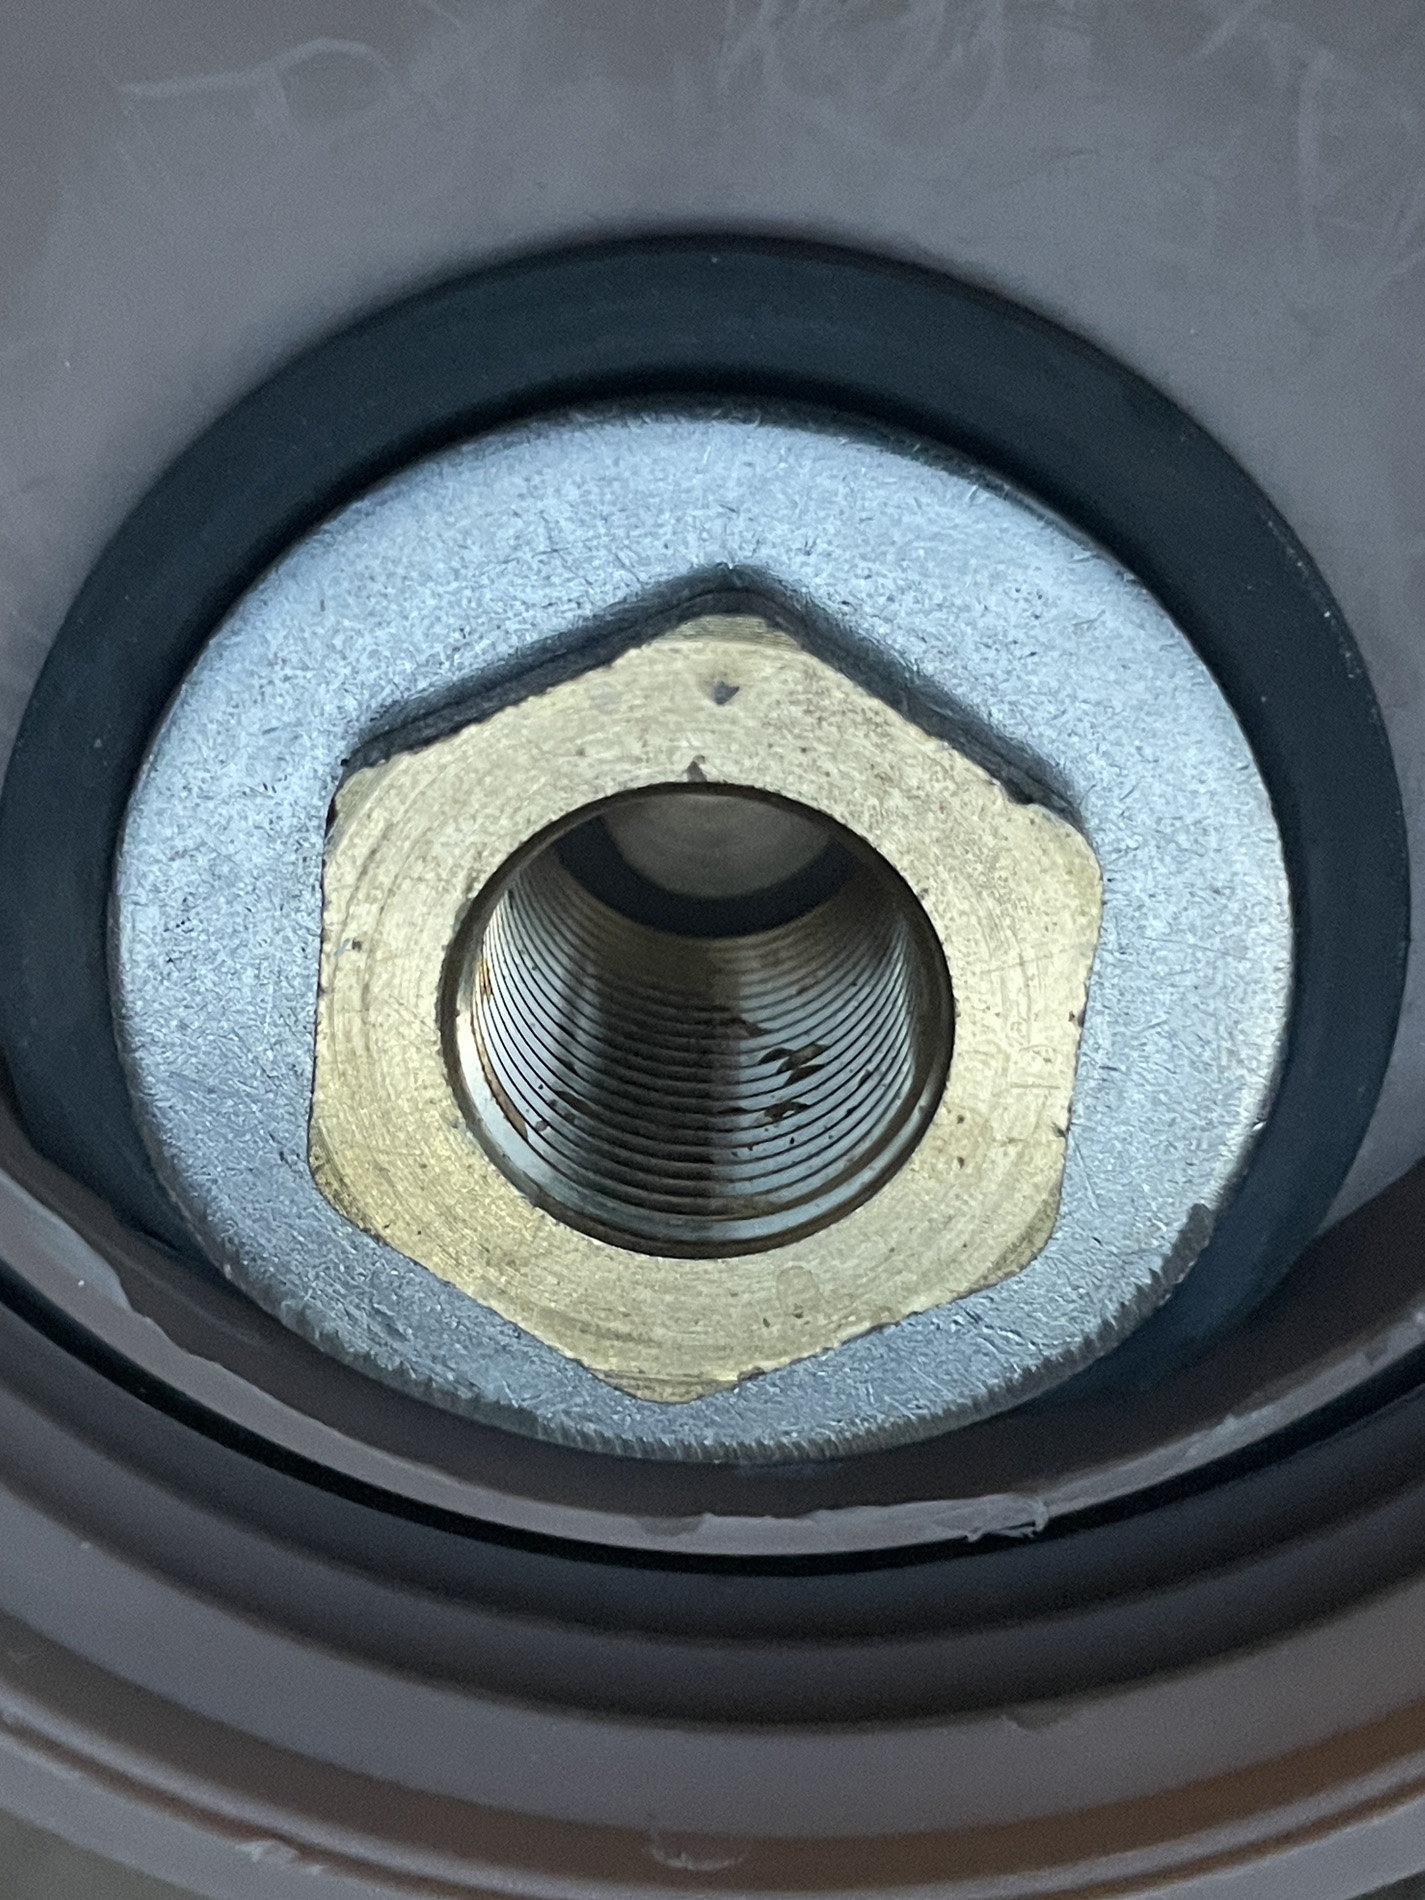
From the interior of the reamed out large plastic cap. Place the neoprene washer, then the stainless washer. Thread the brass threaded bulkhead fitting up into the reamed hole (from the interior surface). With a lot of pressure start threading the brass fitting into the hole through the plastic. It should be rather difficult. Once the brass starts threading, make sure it threads perpendicular to the plastic. Using a large socket on the hex portion of the brass makes threading the rest of the way easier.
Be careful to align the trimmed edge of neoprene and stainless washer to the radius of the plastic caps curved interior. Continue threading in the brass until it is real tight.
On the exterior, slip the Rigid Electrical Reducing Washer 1″ x 3/4″, down over the protruding threaded brass.
On the exterior, thread the brass threaded nut (came in the bulkhead fitting kit), down the protruding brass threaded fitting.
Tighten into the plastic from the interior first. Then tighten down the exterior while still securing the interior to prevent spinning. Tighten until any leak test passes with zero leaks. Easiest to use a socket wrench on the interior, and a box wrench on the exterior. It will need to be tight.
Do not use the rubber washers supplied with the bulkhead connector kit. They will compress and distort, then leak. They are not dense enough to make a good watertight seal.
![]()