Are you tired of cheap wire or plastic stakes? If so read on!
After having several cheap versions of the EZ-Up style canopies damaged because of wind, I set out to get a better canopy. Too also fabricate a set of heavy duty stakes. Not something that would break the bank in the process.
I live in a desert and the soil is often a mixture of compacted sand and gravel. Any of the normally supplied stakes just would not work.
Even some of the longer stakes found at sporting good stores were ineffective. I know many of you stake down EZ-Up tent shade, or Chuck Wagon type canvas shelters. Even framed tarps.
I also went to a commercial grade EZ Up brand canopy with straight legs. At places like Costco or Sam’s these commercial grade 10X10 canopies are in the $200 range. After abusing some of these well over 10 years, I can only say the difference is well worth the price, over the lesser quality and more inexpensive ones even by the same company.
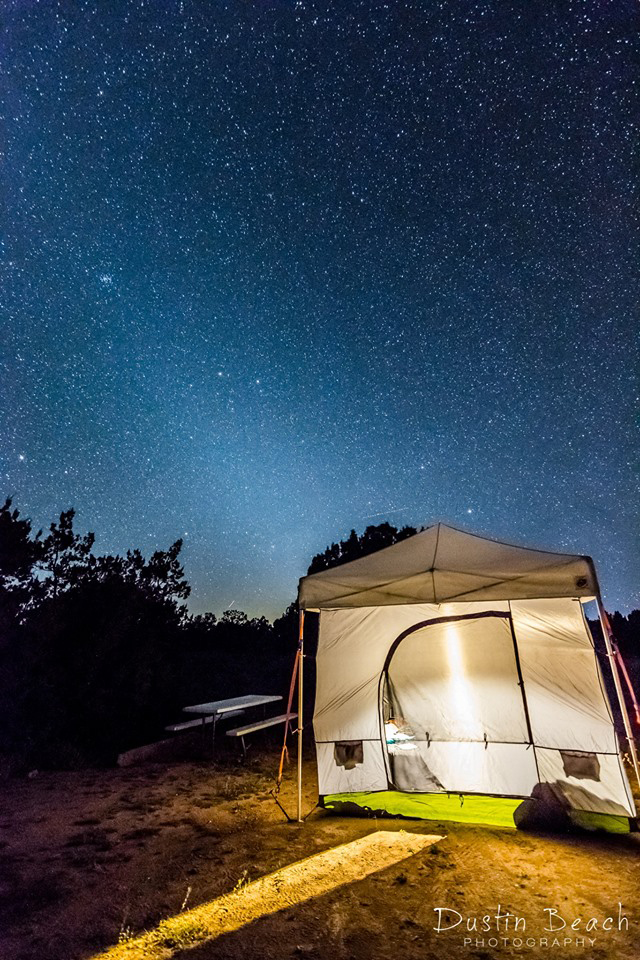
These stakes were put to the test on their first trip out. They were driven at an angle at the four corners. Then ratchet tie down straps were attached at all four corners of the EZ-UP, and tighten down. In the evening a storm blew in quickly.
One of my friends EZ-Up’s stakes pulled out…that resulted in a mangled mess of aluminum uprights and ribs. Blowing around attached to the side of his trailer. His canopy went into the trash. Luckily his trailer wasn’t trashed in the process.
I couldn’t get my EZ Up down with that wind blowing. Nor did I think I could fold it for storage while working alone. I just made sure the straps were tight. The EZ-Up rode the storm out unscathed. In a pinch they can be dropped half way and re-tighten the ratchet straps.
A set of four stakes will cost about $24 to fabricate (not counting paint and welding material).
I happen to have a Mig wire welder which makes quick and clean work of the project. Gas welding/brazing would probably work just fine. If you are a good stick welder that will do too.
Start to finish took me 45 minutes, including a quick coat of paint on the top end. These aren’t fancy, and I am not the greatest welder…but they certainly work.
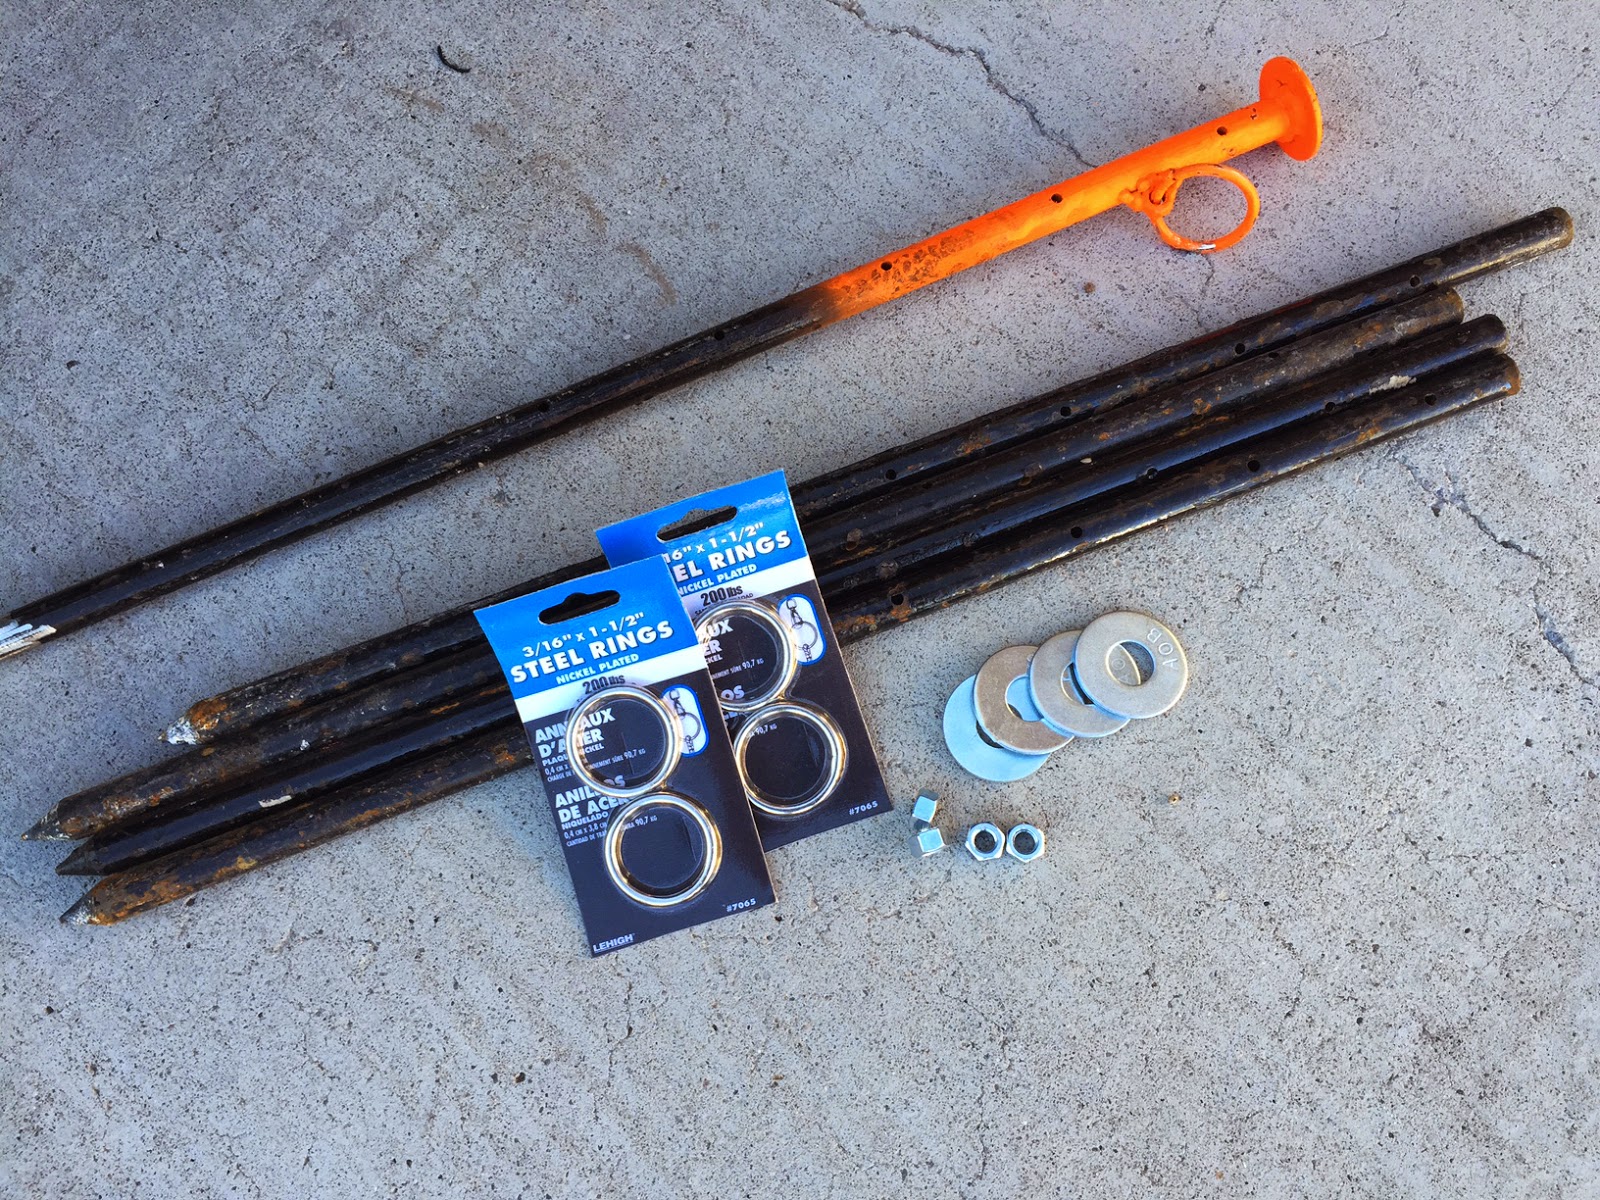
These are made from Concrete Forming stakes and a few other common hardware items. I store and carry these in a old tent bag that has a zipper, and has 2 web handles.
Material:
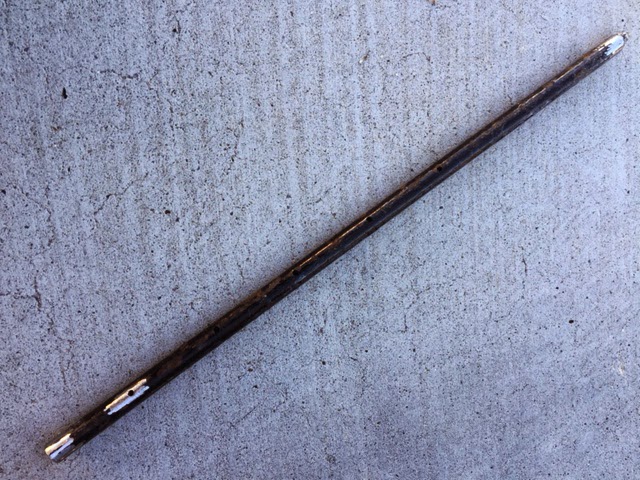
(4) ¾”X24” Round Concrete Forming Stakes (The type with holes for nailing through)
(4) 3/8” nuts
(4) ¾” Flat Washers
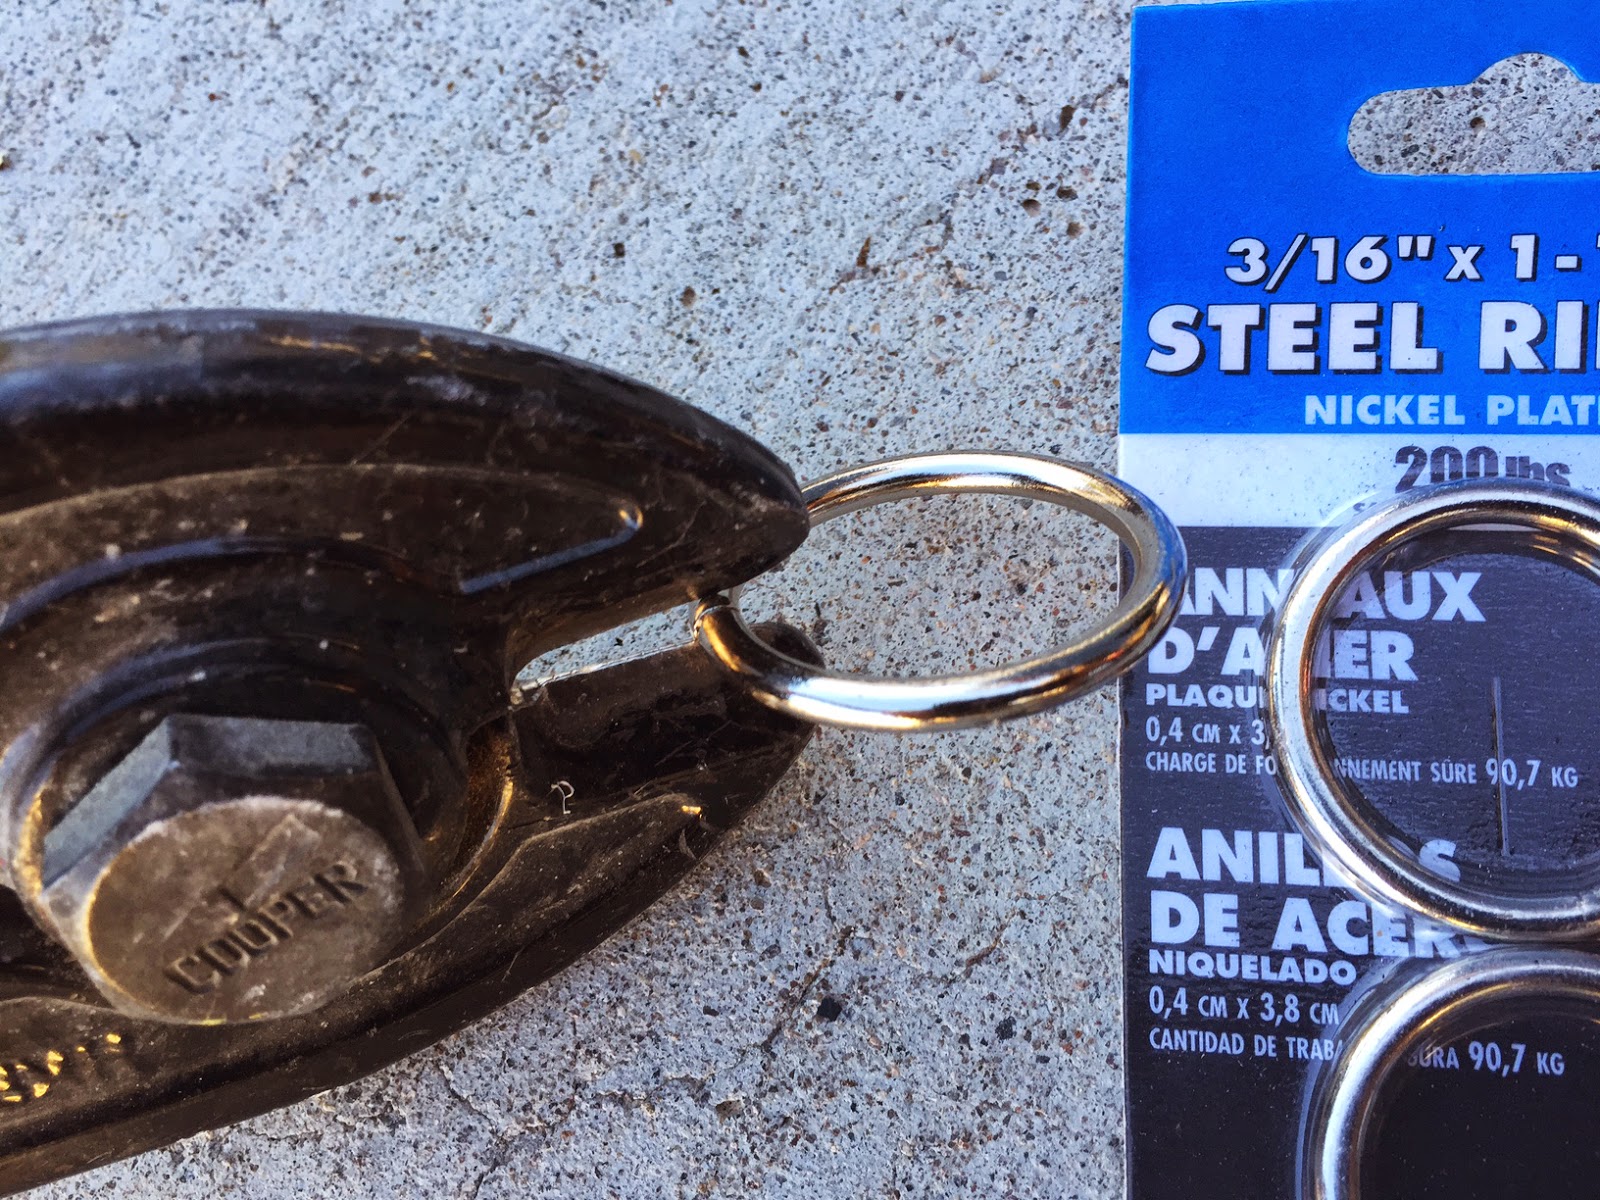
(4) 1 ½” Steel Rings
Optional Fluorescent Orange Spray Paint
Tools:
Grinder or file
Welder or Brazing Torch
Bolt Cutters or Hacksaw or cold chisel and sledge
Channel-locks, Vise-grips, etc
Start by grinding the point end of the stakes a little sharper than they originally come. Grinding part way up the sides at this end (Makes a shiny clean surface to attach the welder ground lead)
Then grind partially down the stake side where your ring bolt with attach. Around the second hole down.
Also grind slightly up around the top of the stake. This is to provide a shiny clean surface to weld. For both the ring attachment and the washer head.
Cut the 4 steel rings with a bolt cutter, hacksaw or chisel. I did mine at the factory weld. Bend these cut ends slightly past each other and set aside.
Place one flat washer on a flat surface such as a brick. Hold the stake flat end down, inserted in the washer. Weld 360° around the stake end, to attach the washer.
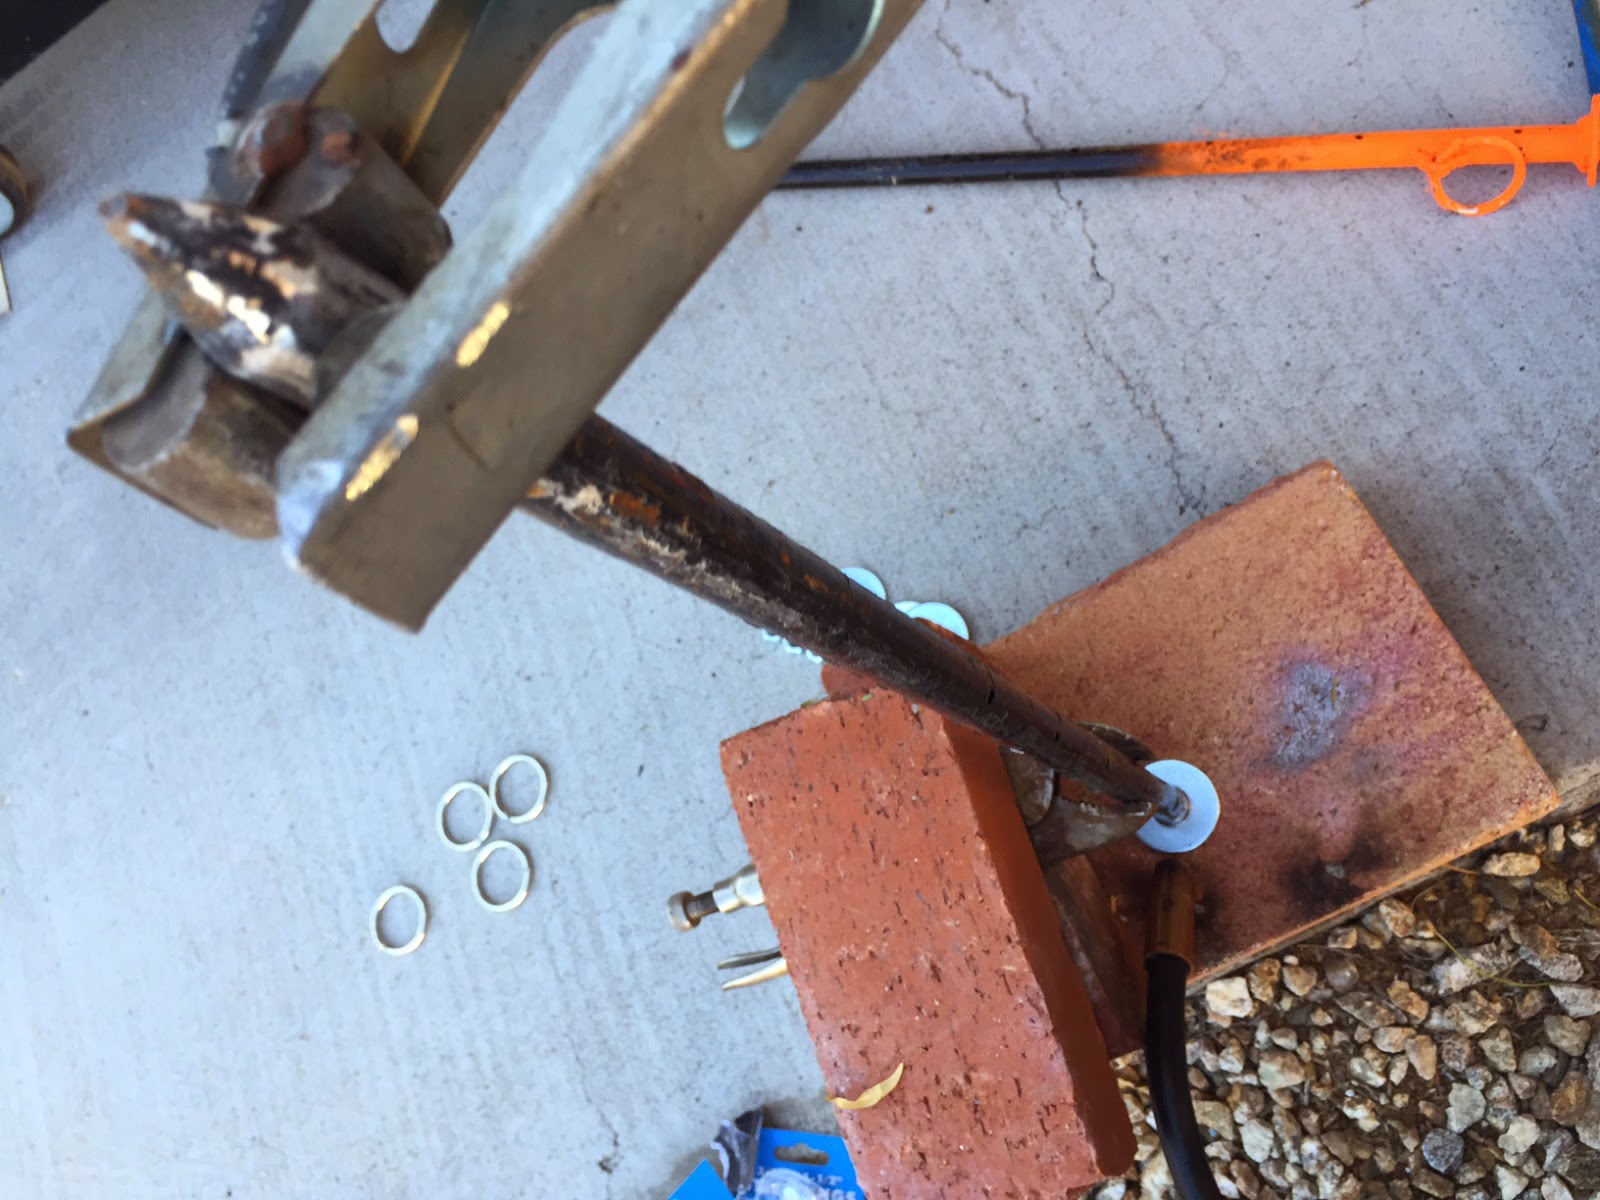
Flip the stake and weld the top of the washer seam were it meets the end of the round stake end. This forms your pounding head.
With pliers or vise grips position the nut over the second hole which you have previously cleaned up with a grinder. Tack with the welder. Align and remove the vise grips holding the nut. Finish welding the nut to the stake. Be careful not to fill the nut hole with weld.
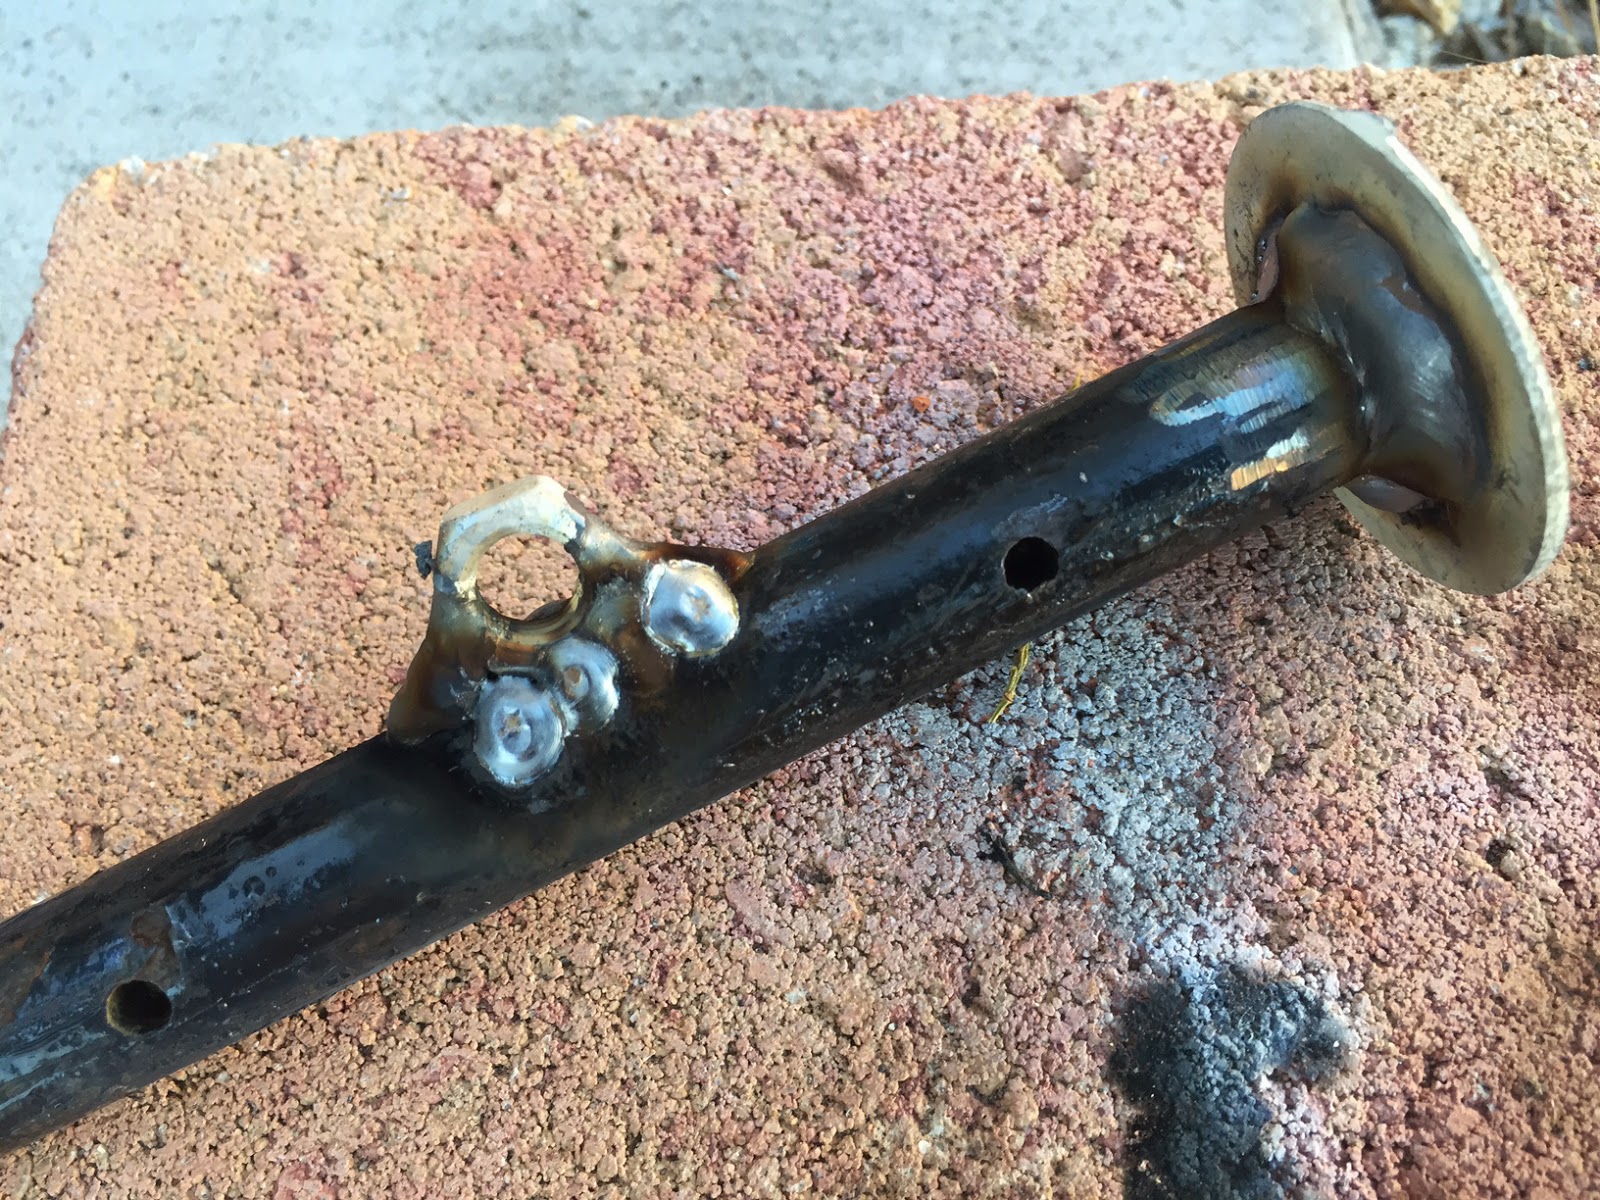
Slip a cut steel ring through the welded nut.

Re-bend the ring to line back up. Weld the ring cut ends back together. Tack on one side, tack again at 180°. The ring should slide freely through the hole of the nut. The ring does not get welded to the nut.
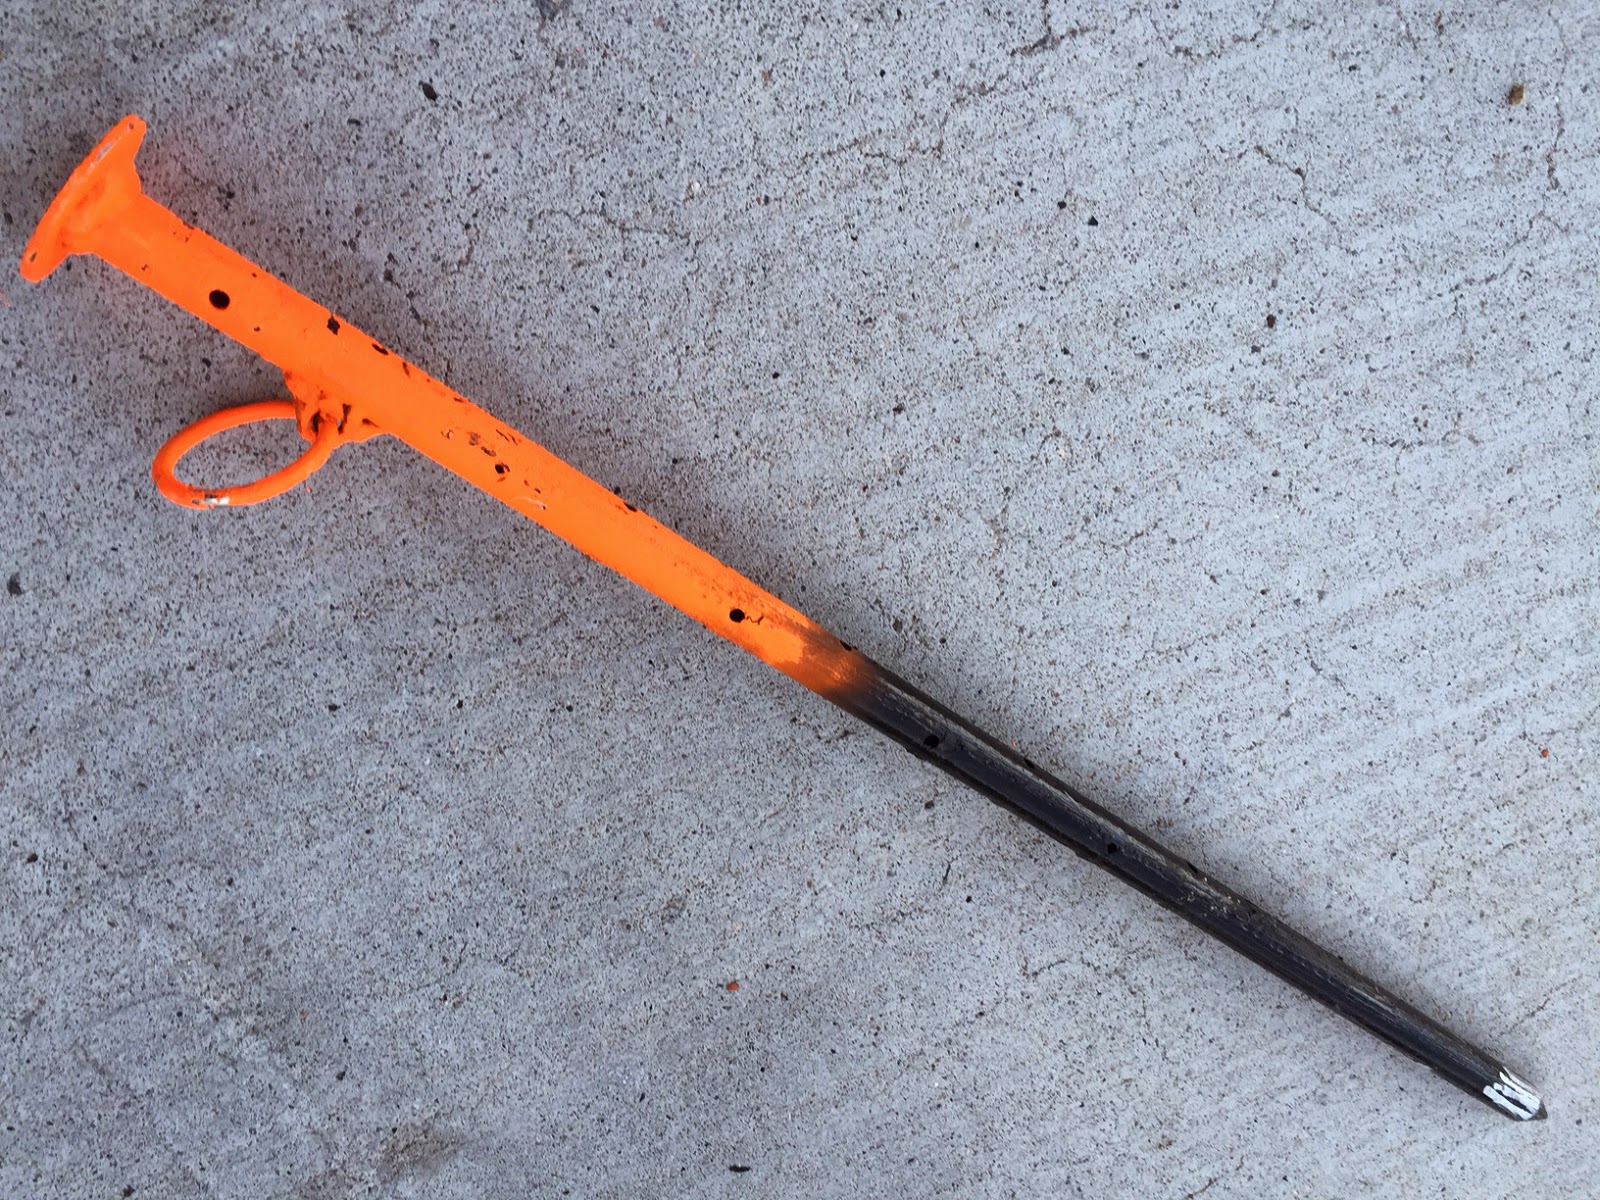
I shot the top end with sprayed on fluorescent orange paint. So I can see them in the dark. Take a tennis ball (florescent) and slit it part way. These can be slipped over the stake after the stake is driven in. They are a great safety addition to help avoid a trip hazard, especially if kids are around.
![]()