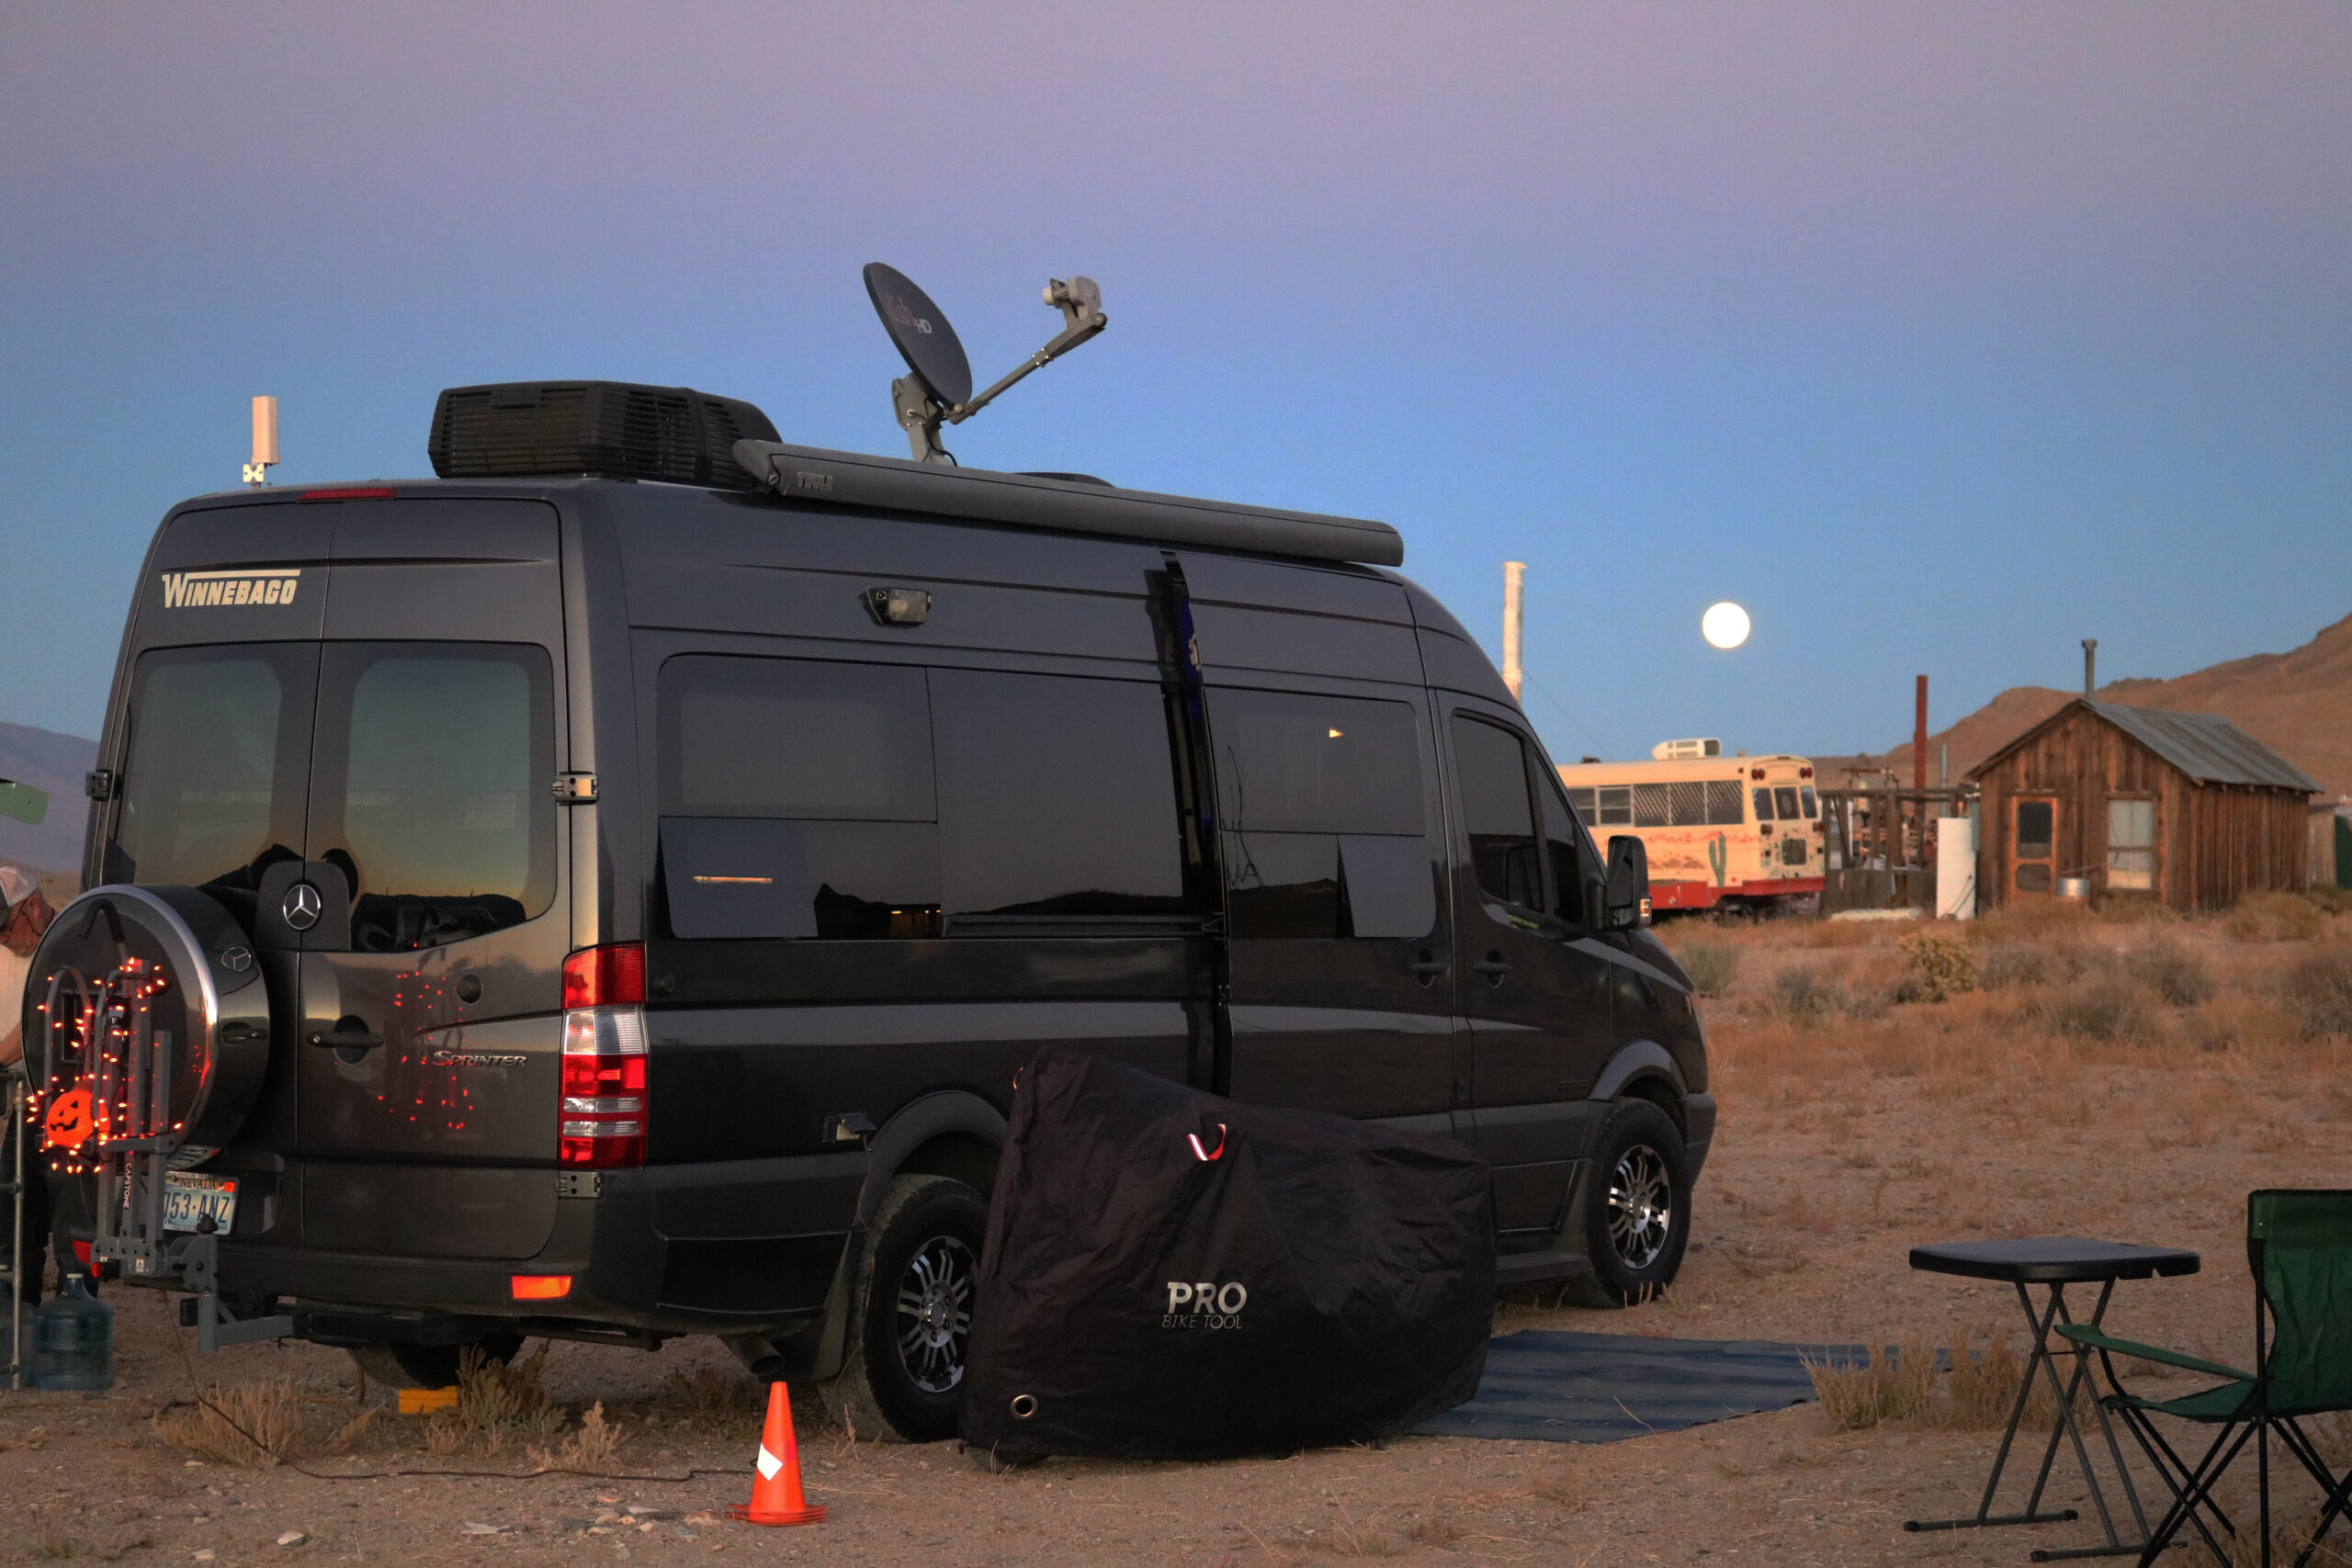
Thanks to one of our Facebook Group members Paul Klotz. We had our first Sprinter Van meet up. (Halloween 2020).
With the threat of Covid and trying to social distance to be safe, this was a perfect location. For the most part we kept our distance from each other in an outdoor environment.
The event took place in an “off grid” Ghost Town location in the state of Nevada, USA. About a 3 hour drive north of Las Vegas. This Ghost Town is generally located near Death Valley California, just across the state border in Nevada. Enough of an “out of the way” place, that cell phones were useless trying to text or access the internet.
We enjoyed the Halloween weekend in an appropriate place. Complete with a beautiful full moon.
At an elevation of around 5000 ft, the time of year we went, and being a desert climate. That meant pleasant days, but cold nights. The day time temperatures were pushing 80°F. The low night dipped to 28°F. It was cold enough to freeze water left in things like dishpans.
During the day we found ourselves moving our camp chairs to any piece of shade we could find along side one of our vehicles or tents. Once the sun set we moved those chairs as close to a campfire as possible.
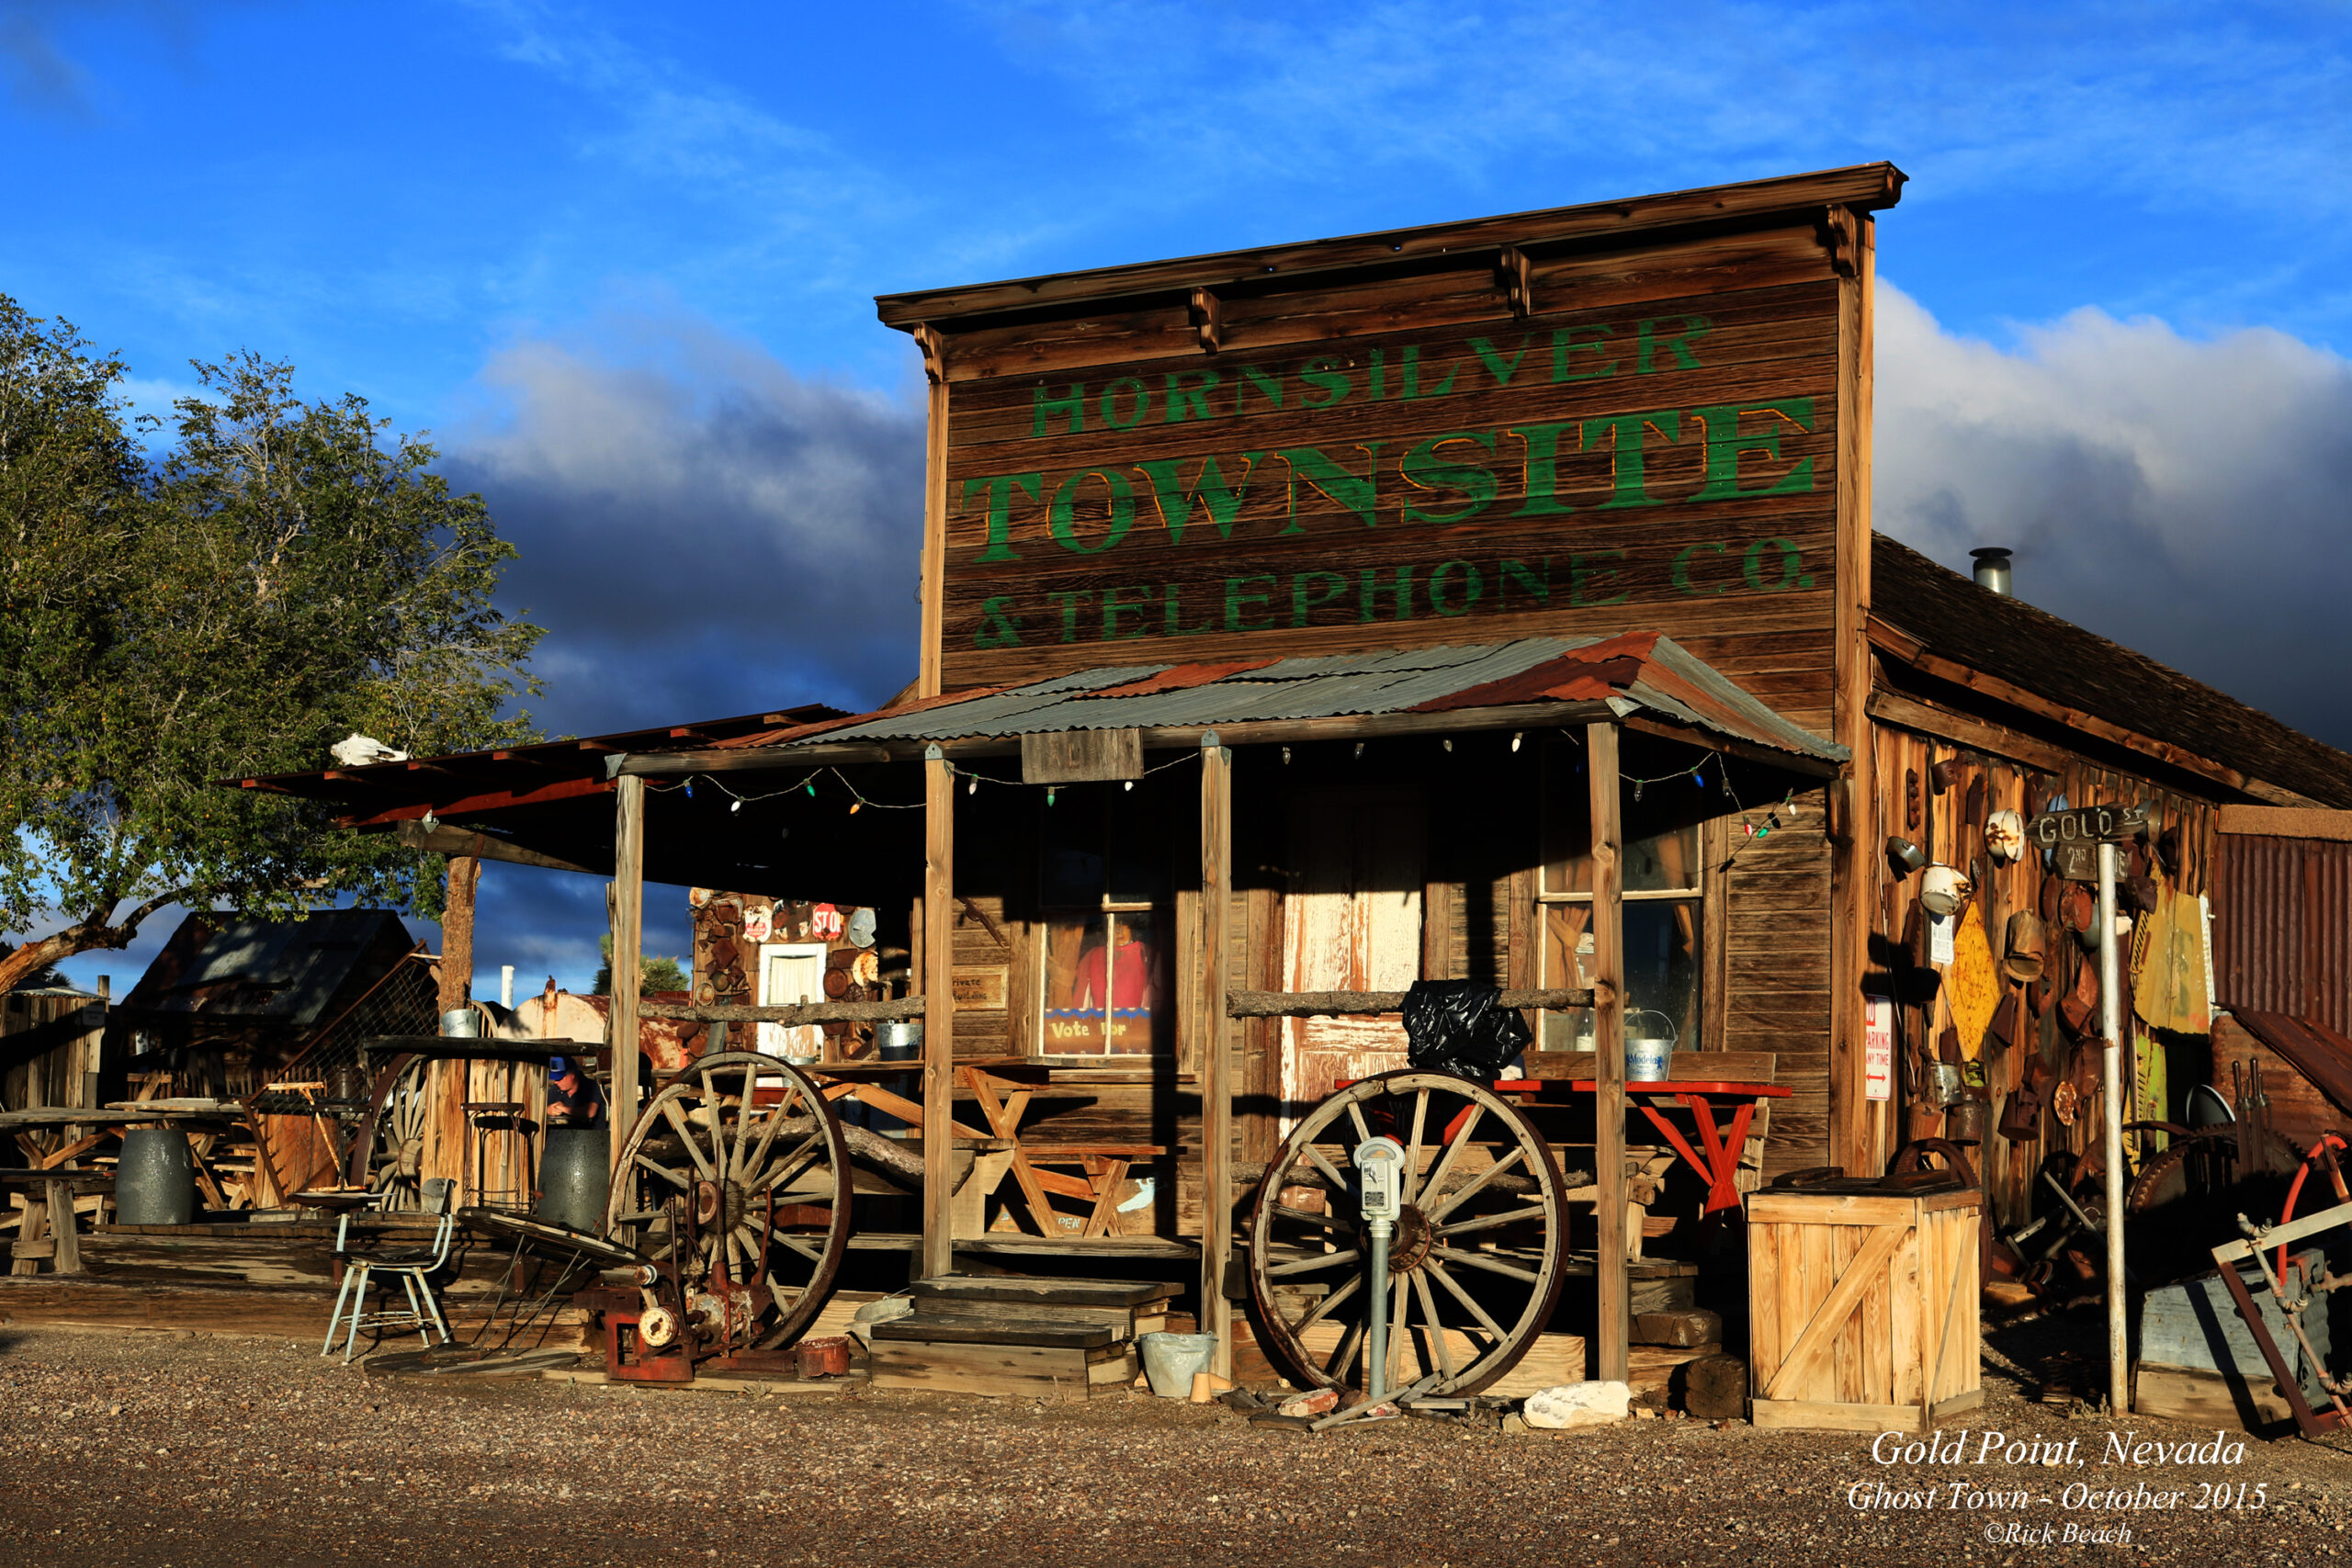
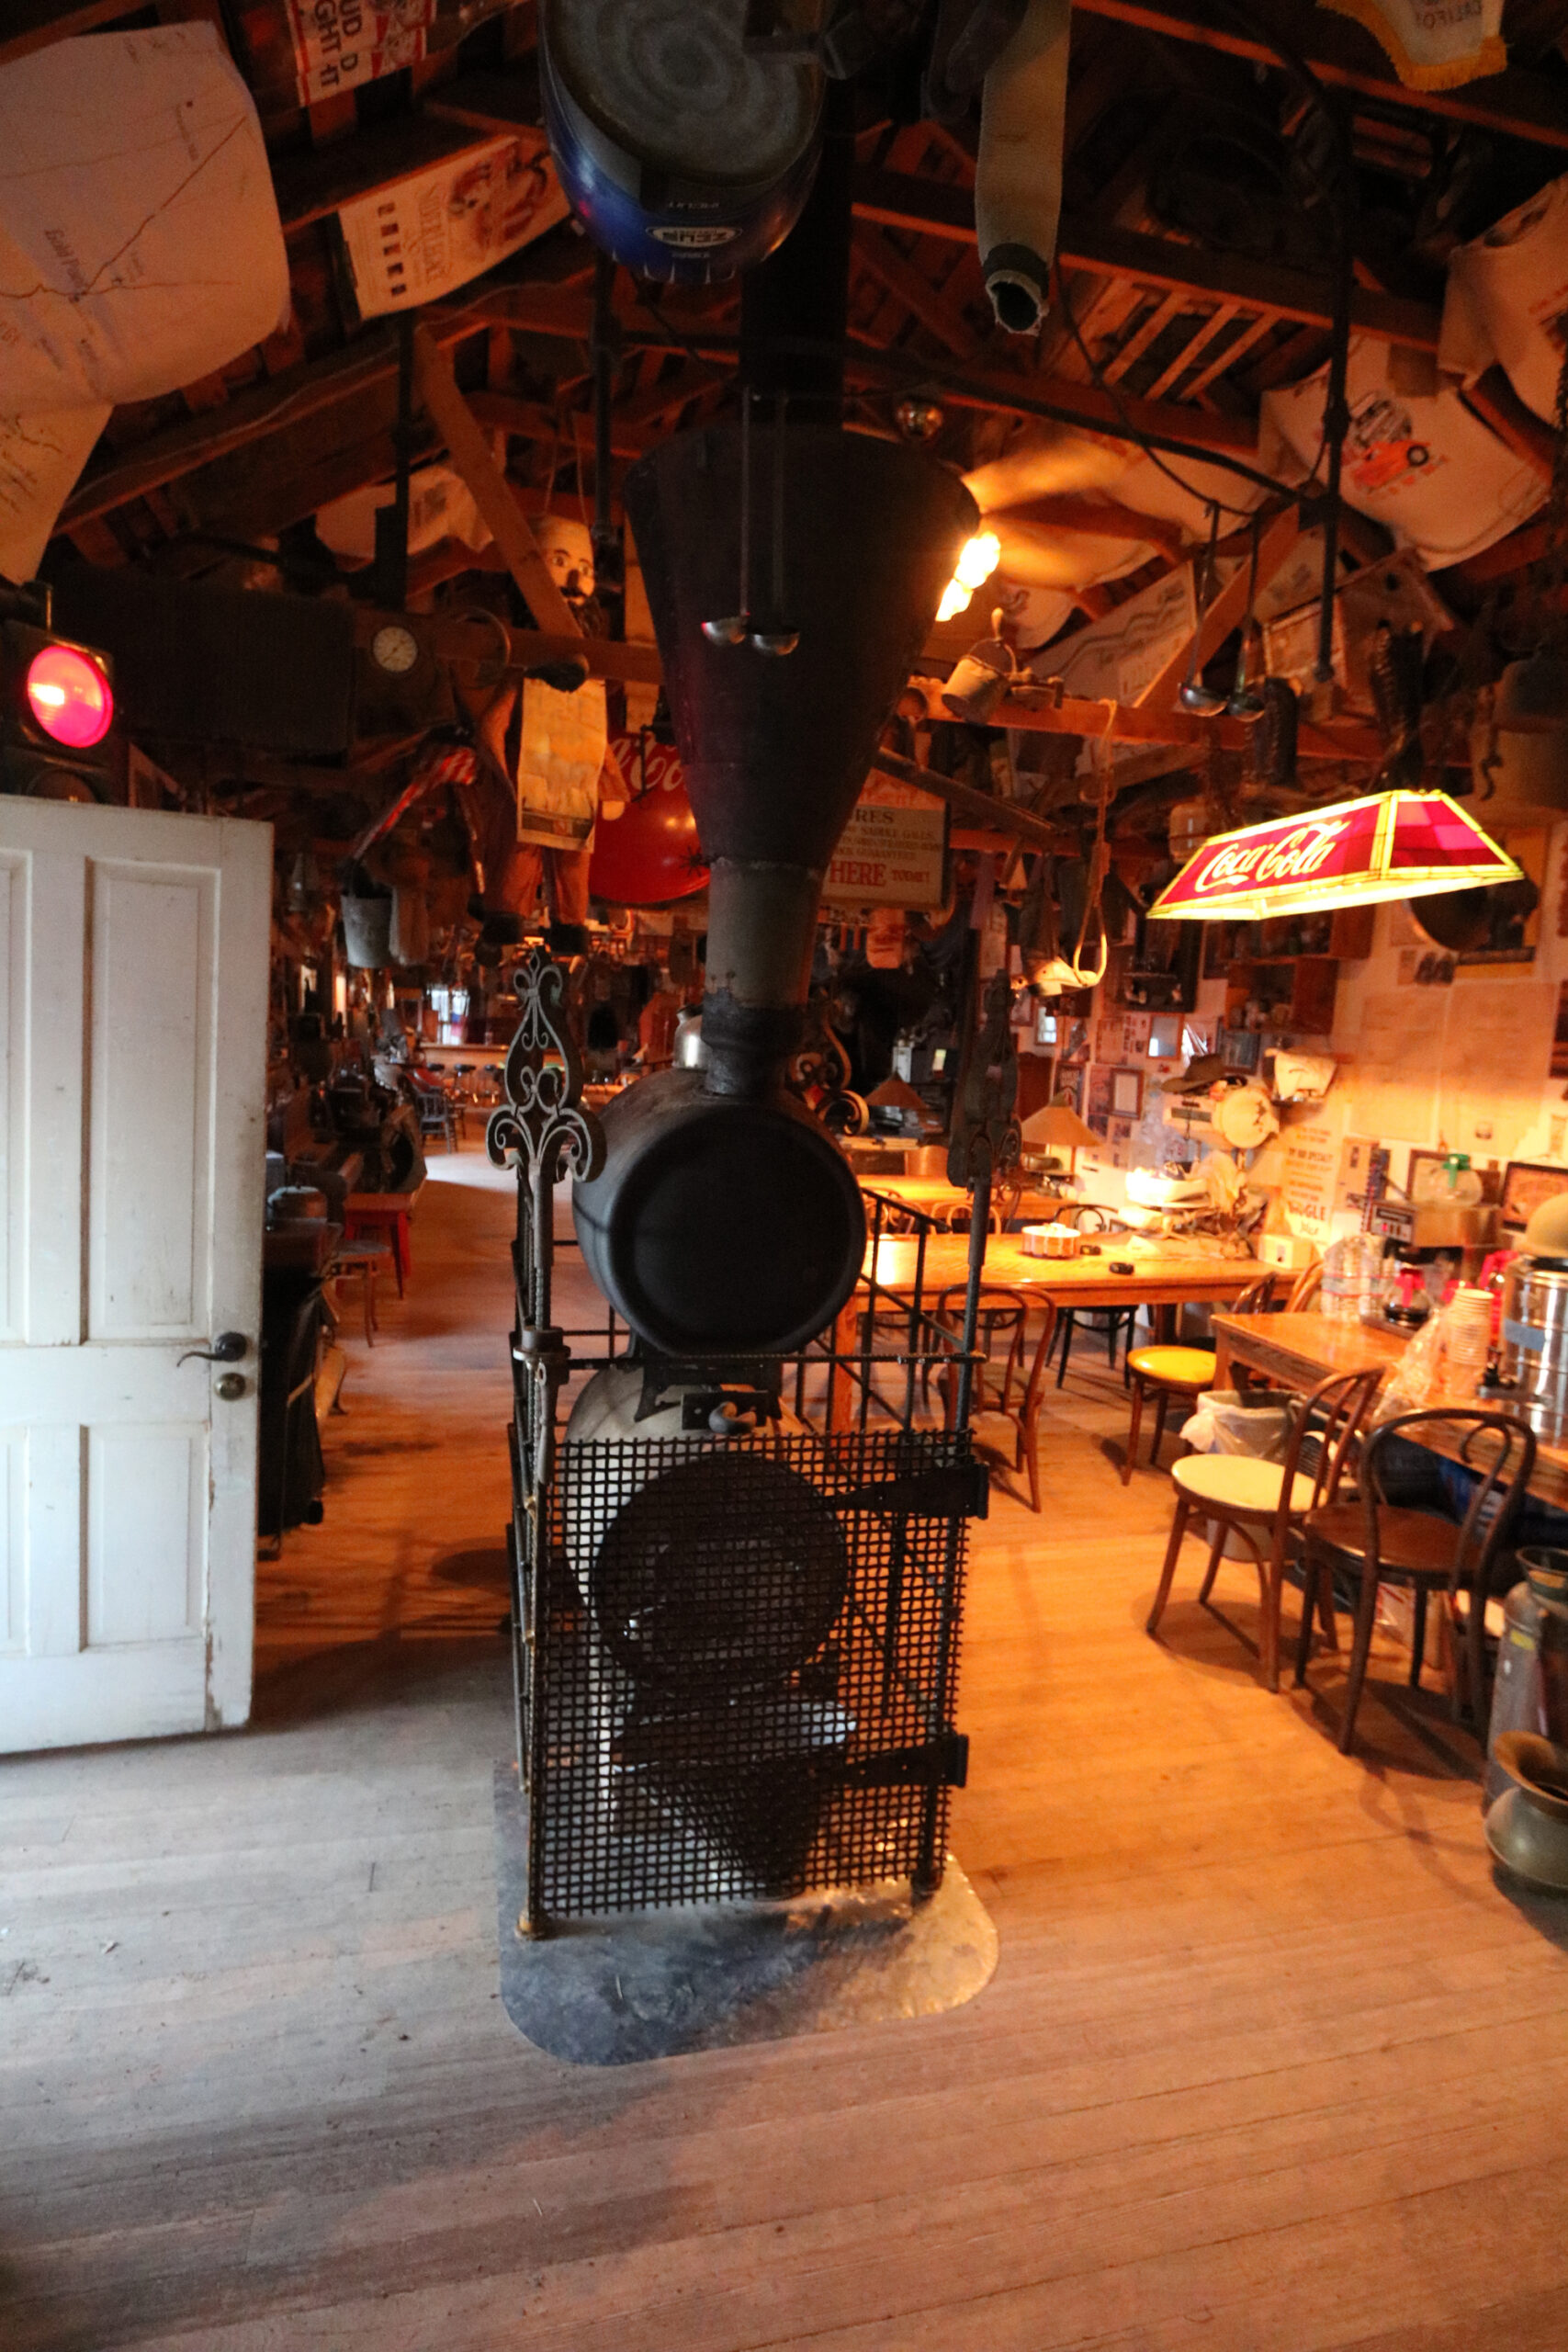
Walt, (one of the few locals) opened up the saloon for us. Though with the threat of Covid and attempting to social distance the best that we could, that experience was short lived. But nice to say hi to Walt since most of us hadn’t seen him in about 4 years.
Some of us biked around the old town. There are endless things to look at. Old buildings, old machinery, mine head frames, old vehicles, and parts of old iron scattered everywhere. Photographers will probably run out of time and memory cards trying to capture this place.
For the more adventurous there is another Ghost Town over the hill, about 6 miles away. Stateline Ghost Town. There is only 1 remaining cabin at that location. Some of the stamping mill foundation and mine shaft head frame remain. But you better have the vehicle to attempt this adventure. The road there is rough gravel, and at times disappears under sand in the bottom of several dry wash stream beds.
When the sun set on our four day camp out. We were reluctant to head back home to the routine of the “now normal” life we all have dealing with Covid.
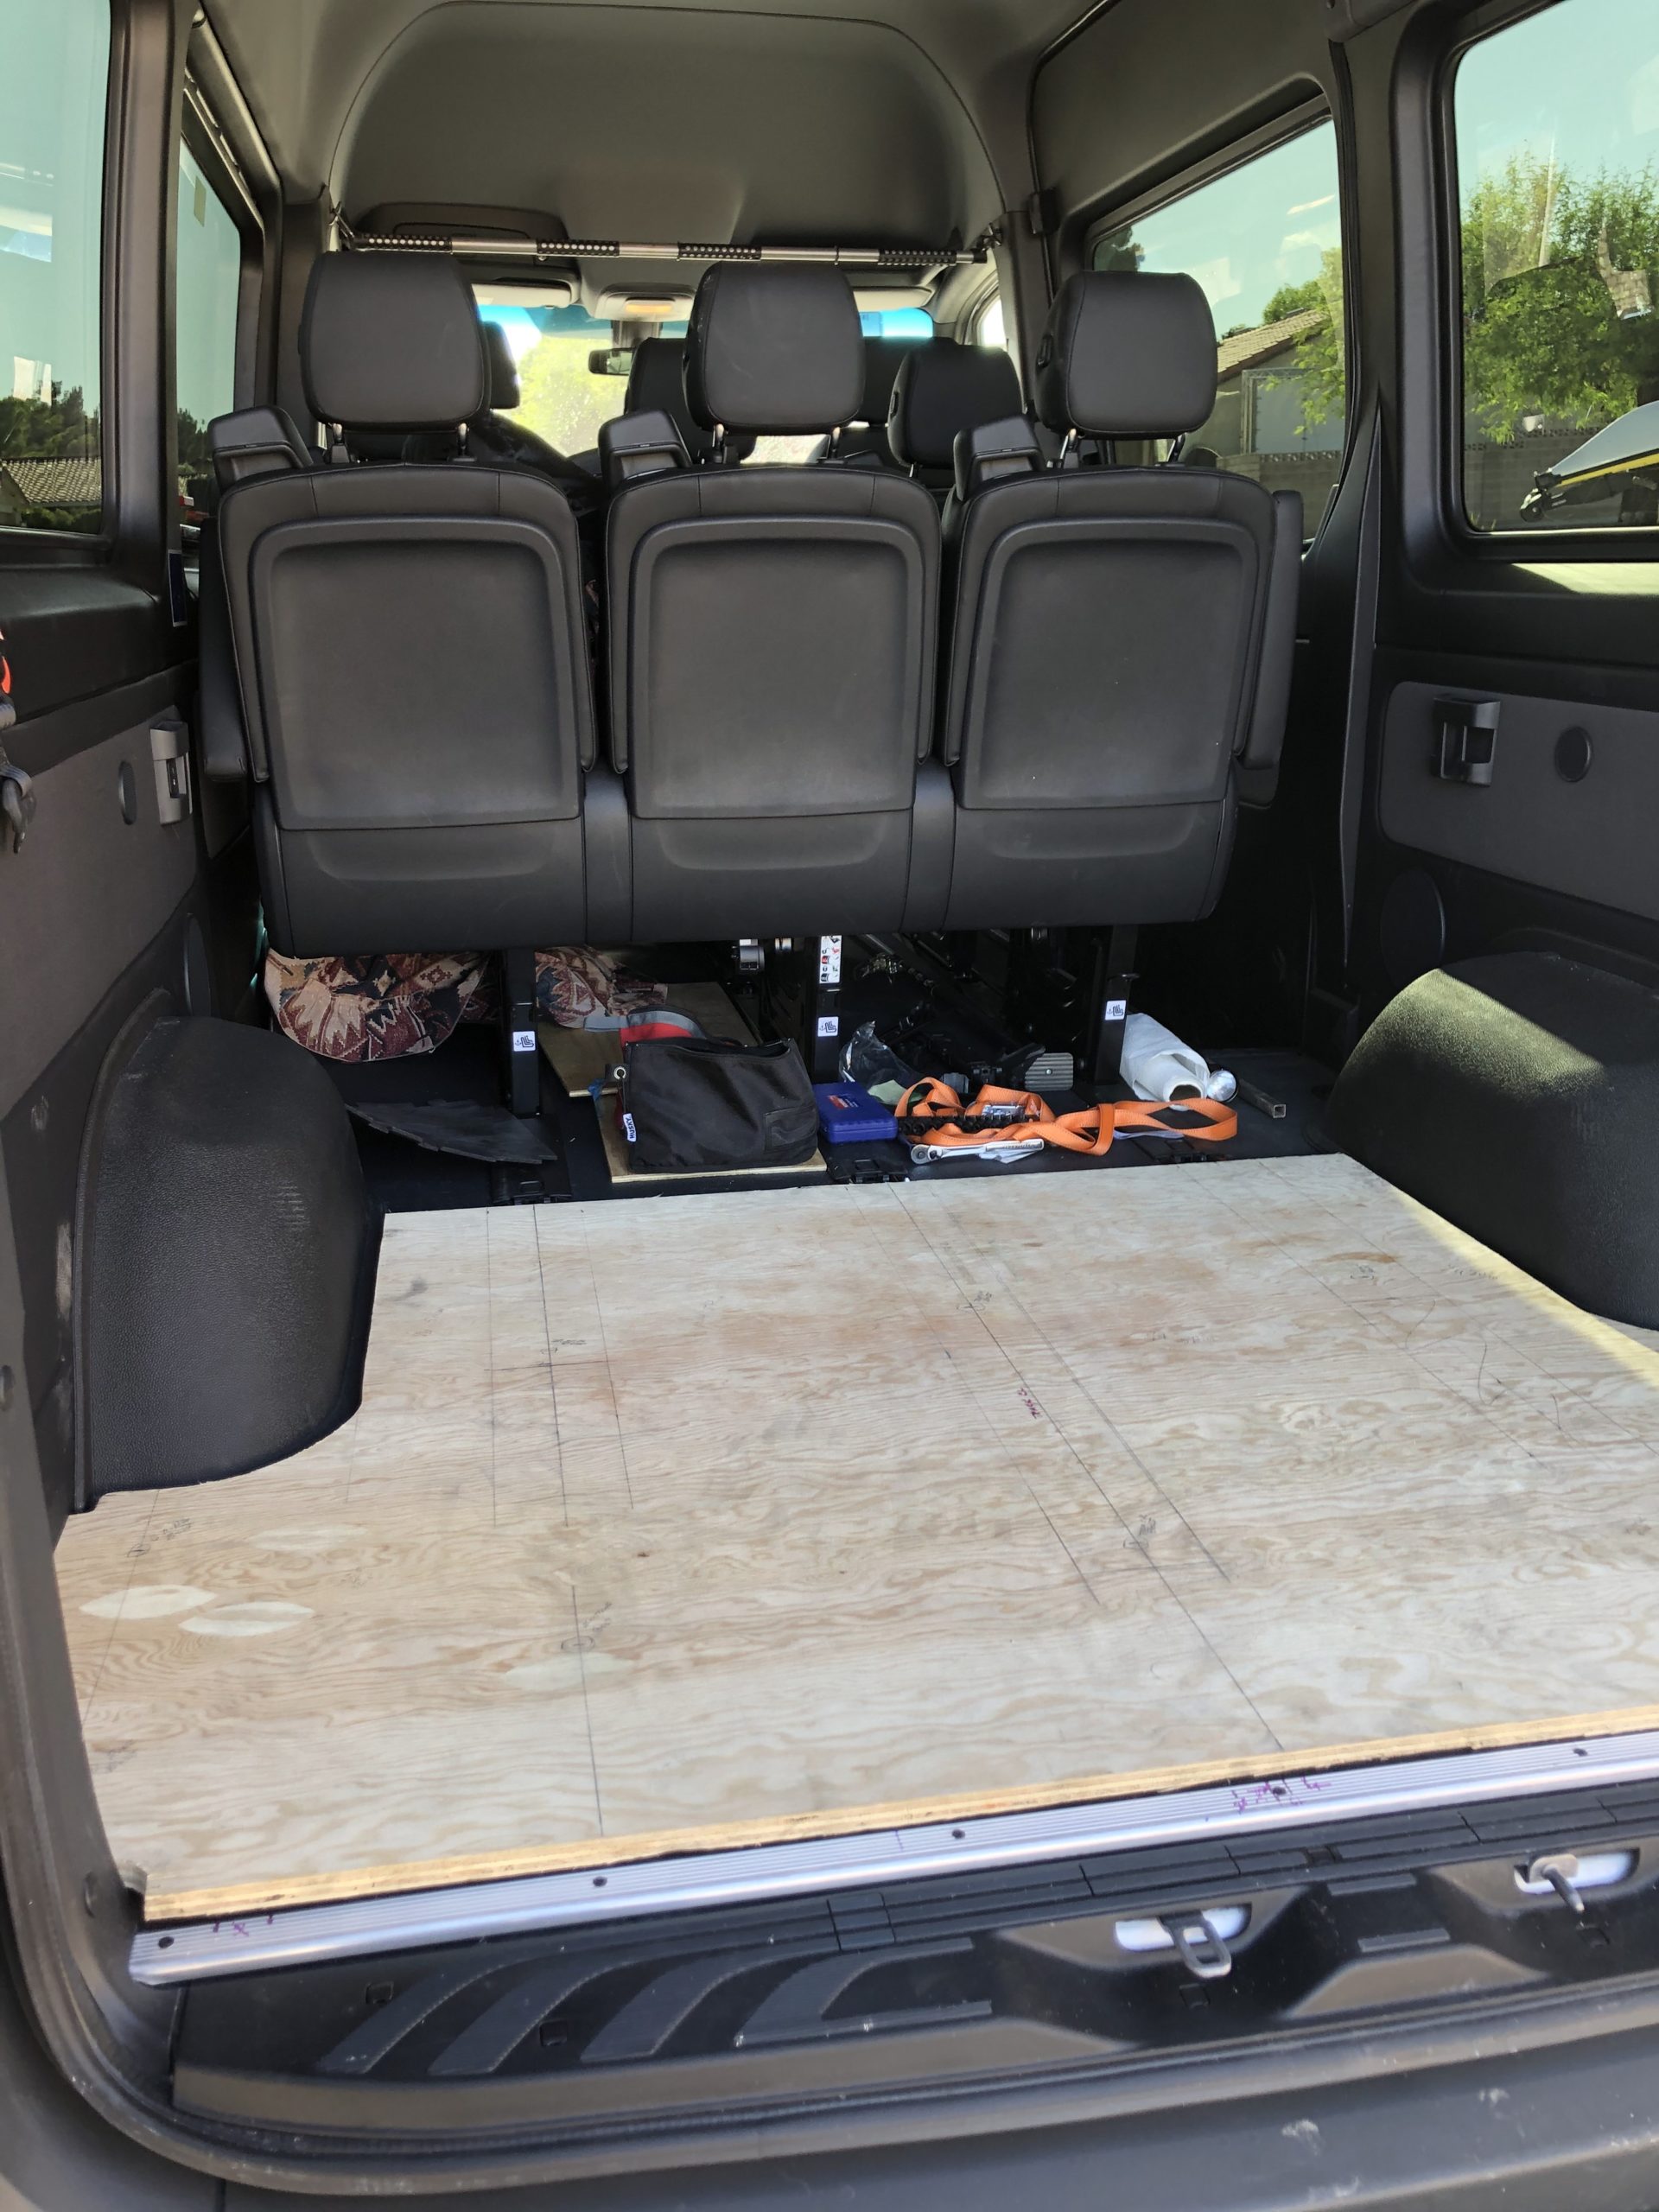
Typically you will be installing some type of sub floor (van). Cargo vans have uneven floors. A series of peaks and valley’s in its metal sheeting.
Finished Passenger vans often have a more finished level floor. But they may come with bench seats you now have seat lock down tracks to contend with.
I have a passenger van. I am pulling most of the bench seats. In my build (with the thought of being able to return it to its factory state if need be), I am covering the existing factory finished floor. Covering everything such as seat lock down tracks, and D Ring tie down points.
I am using 3/4 inch plywood with strategically placing 1/4 plywood on the underside facing the van floor. To shim it higher than any protrusions. This is to miss the track and D Ring hardware that is slightly higher than the factory floor.
This new base covering will flatten everything out. I used existing track bolt locations since there were factory welded nuts that made ideal anchor points. It required removing the existing bolts and replacing them with longer bolts.
Don’t cut the sub floor plywood too tight on the edges or you will create squeak points when driving down the road. It is better to have a 1/4 to 1/2 inch edge gap. If you want to fill the void, use some type of caulk that remains flexible.
You can counter sink your anchor bolt heads or use “Cup Washers” to get a relatively flush mount. I intend to have a finished covering of spun rubber commercial interlocking carpet squares. over this plywood sub floor. That type of carpet can be installed over “Cup Washer” installation and never be noticed. If need be, the bottom side of the carpet could be routered out a bit, just above any “Cup Washer” location.
If you intend to install some type of vinyl finished flooring, you may want to counter sink any bolt heads. Or use Elevator bolts through new holes drilled in the van floor, with washers and nuts under the external floor of the van.
Plan before you drill any new holes through the floor. You want to miss the frame and any other critical things like fuel lines, electrical, brake lines, etc.
For thin vinyl flooring you may want to fill any counter sunk bolt head voids, flush.
I personally don’t believe counter sinking would provide adequate anchor strength. It would be my third choice, after a Elevator bolt. Counter sinking, and even using a washer, would remove at least half the depth of the wood. You have to think of the weight of other items that will attach to the sub floor. Then the stress and strength to remain attached even in a moderate vehicle accident. If you are OK with that method, then it is an alternative.
Once your sub floor is installed and secured, you can proceed with your layout and build. This will provide an excellent foundation to draw your layout on, secure partitions, cabinets, or attach hold down brackets for things like water tanks and batteries.
We wanted to installed swivel adapters on the two front factory stock seats of our Sprinter Van.
Doing some on-line research there appeared to be at least 4 top choices that were rated. We eliminated any that appeared wiring cutting and splicing would be required. In fact should the unit we purchased require that, we will most likely return it. Not that we are not capable. We don’t want to hack into the seat/seat belt wiring and start voiding factory warranties.